Pretty in Pink
For me, having a little girl means branching out in my sewing projects to garments. I’m just a big sucker for all the frilly little dress patterns, so Easter was a chance for me to have some fun creating a custom outfit for Angela.
I started with a fuchsia eyelet dress made from McCalls M6015 view B. I made this dress last fall hoping it would fit in time for Easter. My little peanut, who was called a shrimp by her pediatrician at her last check-up, fit into it, but she still has some room to grow.

The biggest challenges in sewing the dress were the invisible zipper, which I’m still mastering and sewing the eyelet fabric and the plain fabric dyed to match together as one. Even though they were cut from the same pattern and basted together, I’m not quite as precise with a pair of sheers and I am with a rotary cutter, so there was some easing needed to make the pattern work.
But I love the finished look and am glad she’ll be able to wear it all summer.
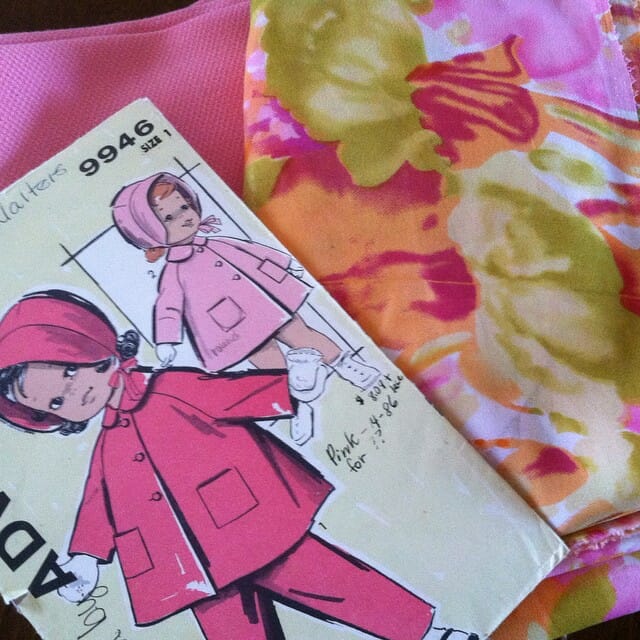
My original plan was to knit a sweater to go with the dress, but the pattern is more difficult than I thought and I just have one sleeve finished. So the day before Easter, I decided it was time to pull out the fabric and pattern I picked up for a spring jacket. The vintage pattern is completely adorable and I bought a remnant of baby pink fabric when I visited the Vogue Fabric Store in Chicago last fall.
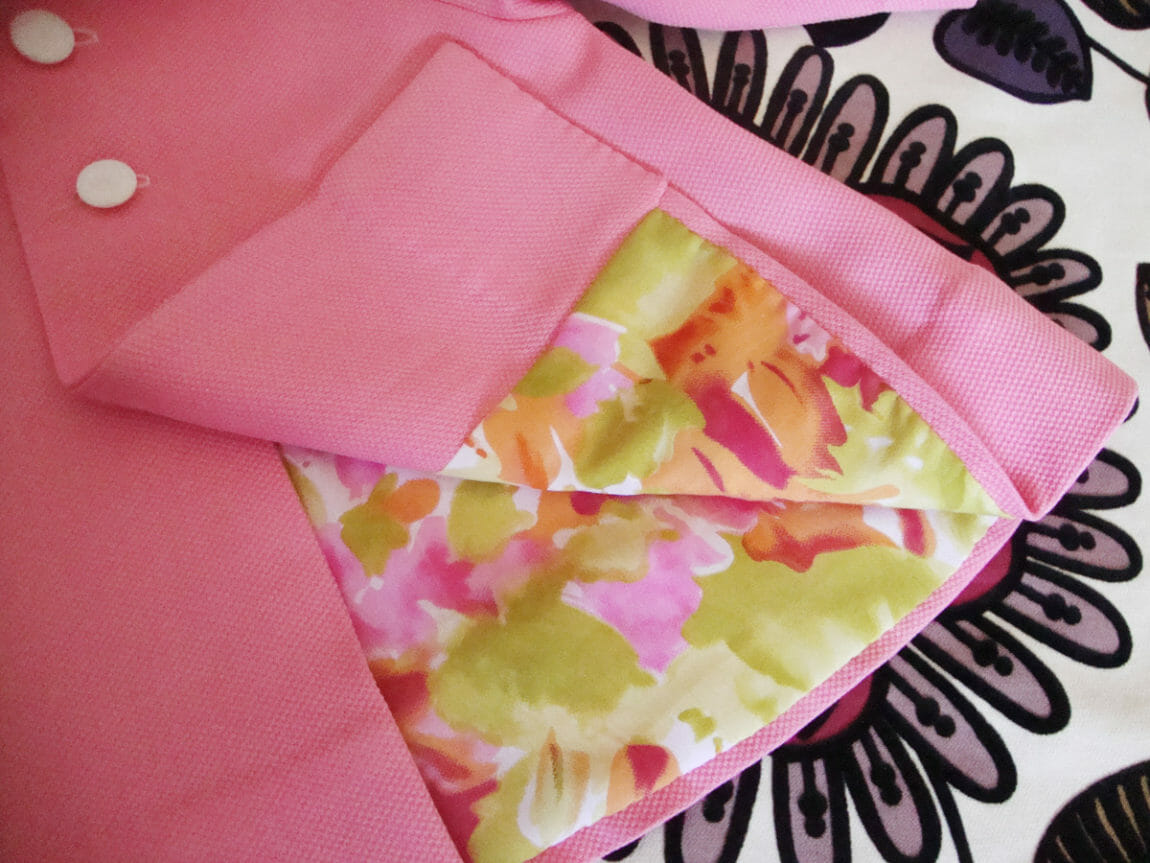
Then I found a bright floral on clearance at my local Hancock Fabrics that just begged to be the lining of the jacket. The fabric isn’t made for apparel lining, but at 100 percent polyester with a soft, flexible drape, I figured it would work just fine. And I love the pop of color it creates when the jacket is opened up.

This is the first time I worked with a vintage pattern, and one word of caution is if the handwritten note reads, “Runs big,” and your daughter runs small, make a muslin first. It’s pretty safe to say this coat will fit her next Easter too. As for following the instructions, the writers assumed you have more of a basic knowledge of garment making than today’s sewers. There’s no mention of finishing seams or pattern keys for the right side and wrong side. So if you have trouble keeping that all straight, stick with the vintage reproductions the pattern companies are coming out with.
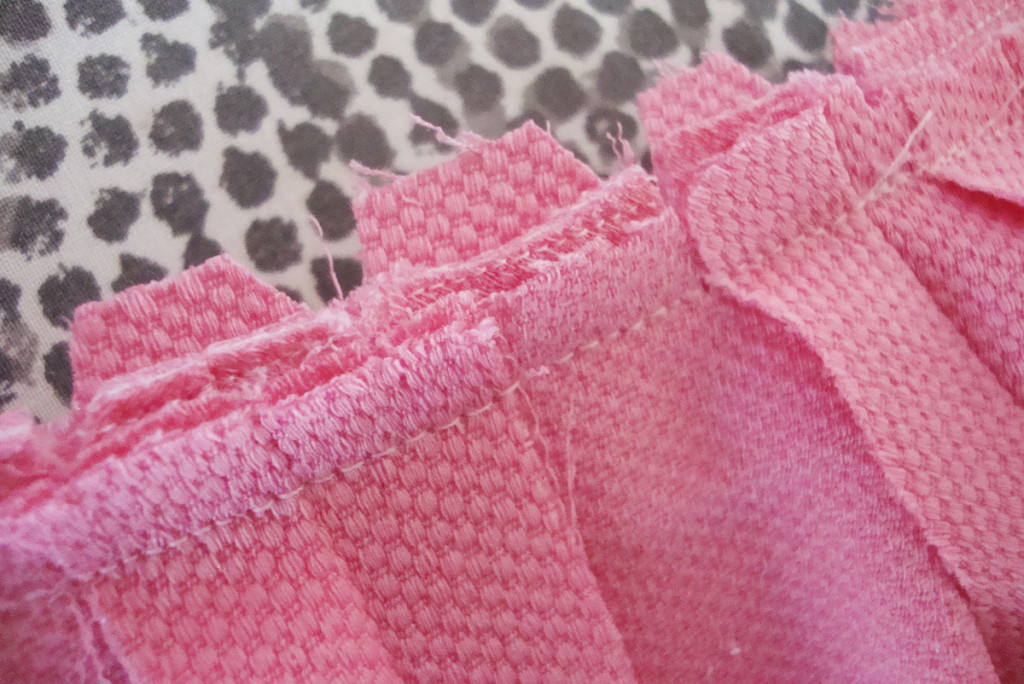
One trick I found really helpful was layering the seams. The photo above is the inside of the collar. There were tons of layers of fabric and interfacing and by trimming the seam layers so that they all finished at different lengths, it helps everything lie nice and flat without having a big bump where all the seams end.
I also went rogue at one point in following the instructions. The pattern wanted me to hand sew the entire lining in. There was no way I was going to do that. So I pinned the interior of the lining to the coat facing, leaving the sleeves and bottom hem free and ran it through the sewing machine. I did reserve some hand sewing for the bottom lining hem and the cuffs. Same results, a fraction of the time. Plus, I finished by midnight on the same day I started the project. Not bad.
How about you all? Do you enjoy garment sewing every once in a while?
You might be interested in