March BOM sneak peak!
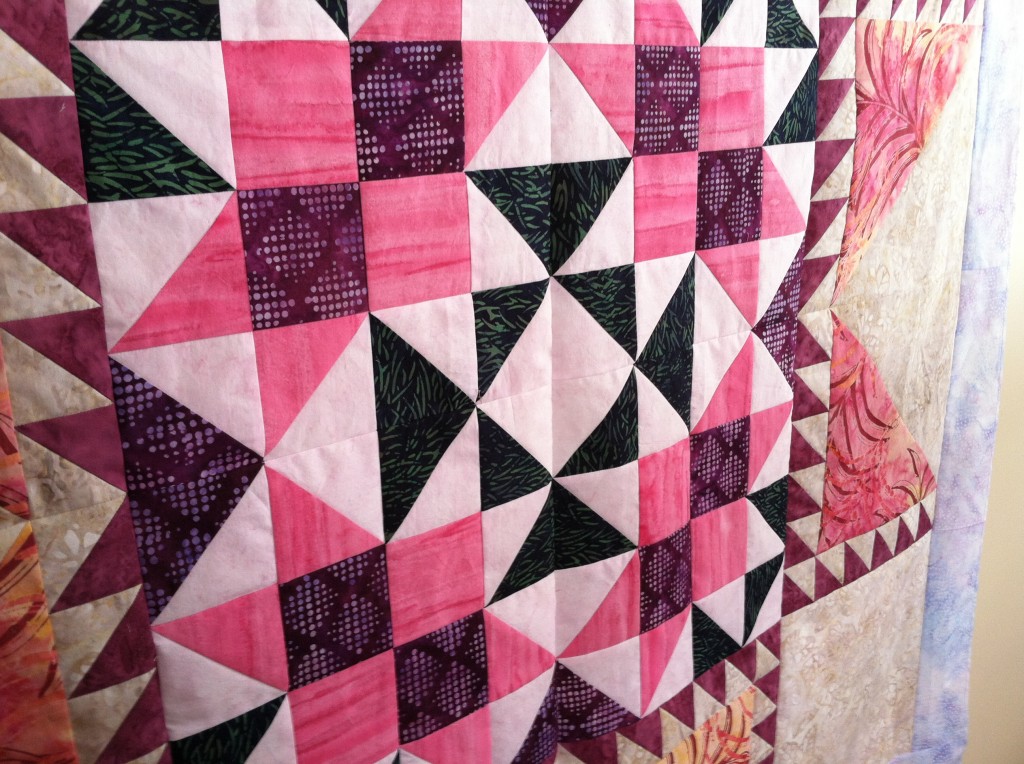
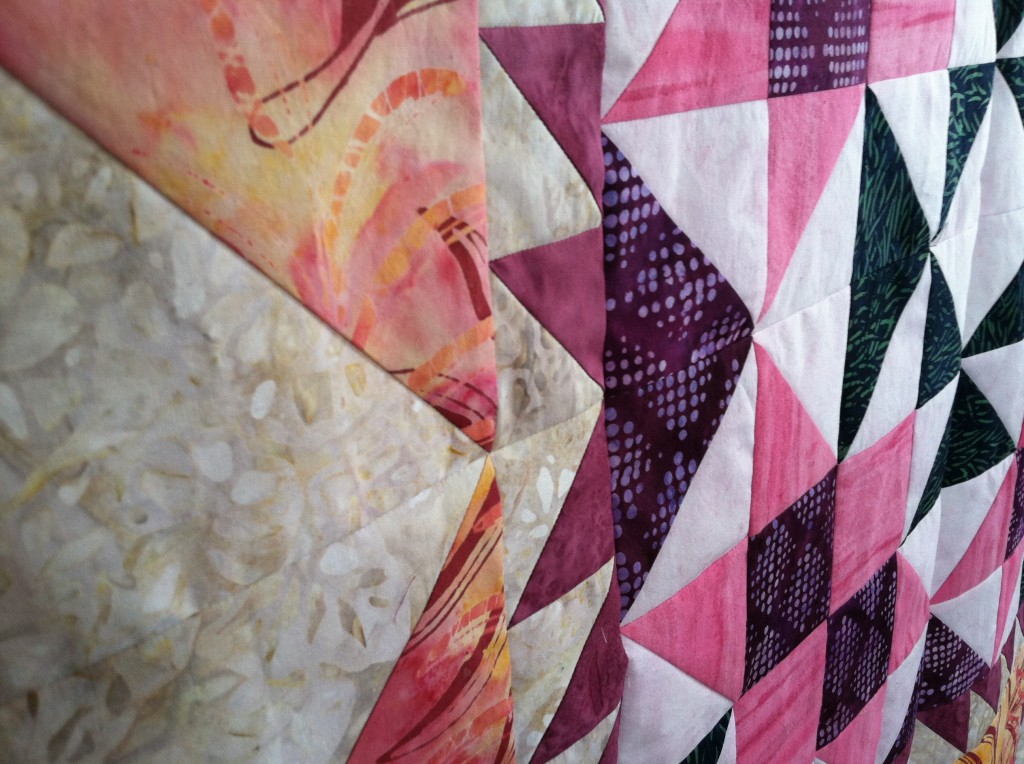
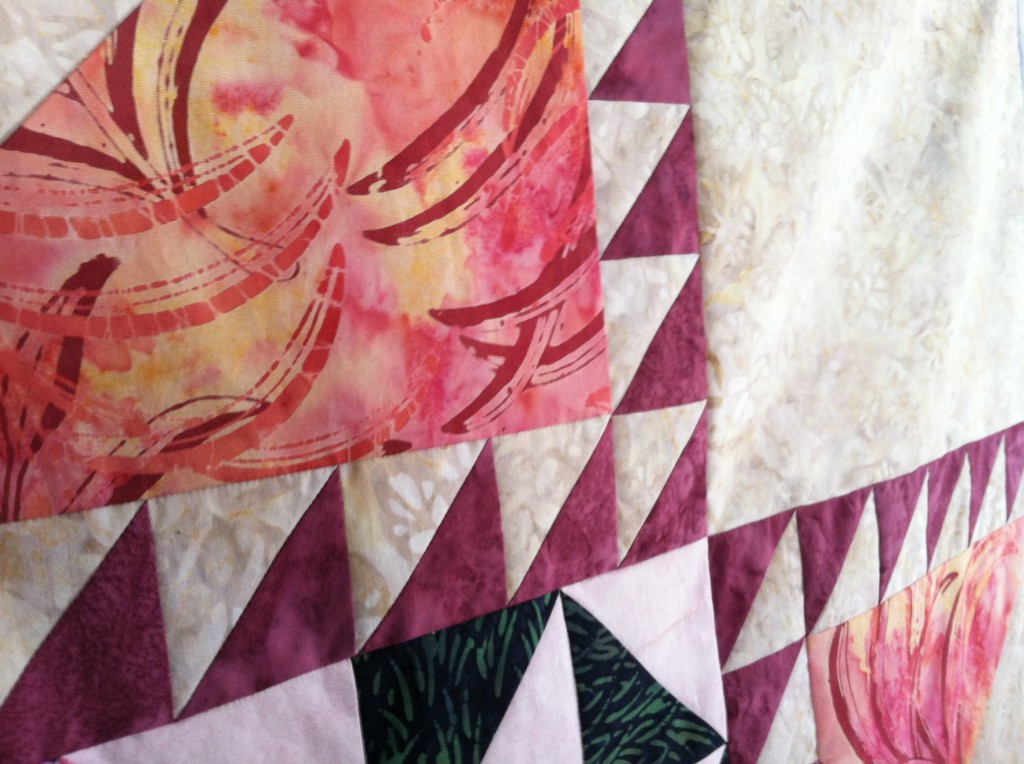
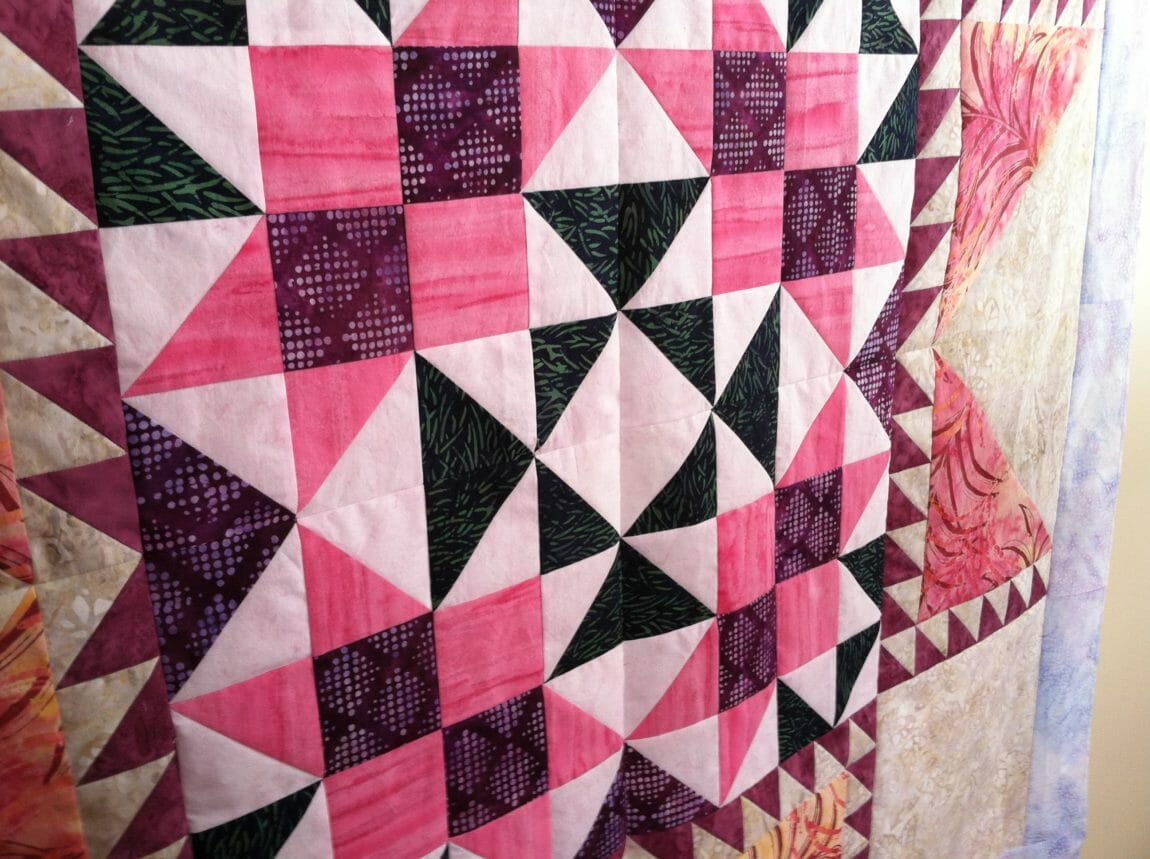
I’ve got a sneak peak of the March Block of the Month for you! Next month we’ll go over how to put together the center medallion with some tips and tricks on how to get those points to match up just so. But the main part of the lesson is how to properly measure your border width.
That means your “block” is technically a 12 1/2-inch square of fabric, consider it my gift to you after a difficult month filled with teeny tiny half square triangles. But hear me out before you feel cheated that there isn’t actually a “block” this month and say you’ll just sew the border on, press it open and slice off whatever is leftover at the end.
I too used to attache my borders by sewing an extra long piece of fabric to the edge of the my quilt, press it open and slice off the extra. I’ve also followed the pattern instructions and cut borders exactly to fit the length the pattern called for.
But the truth is no matter how accurate your cutting and quarter-inch seam is, your quilt will rarely be mathematically perfect. When you watch the video you’ll see that mine isn’t. Everything from your thread and fabric choice to your pressing technique can affect the finished width of your quilt. That’s why learning to measure the quilt and create your border to fit your quilt instead of the pattern instructions is so important.
Similarly the stitch and flip method for the border is equally dangerous. When you’re working with several feet of fabric it is just too easy to either stretch the material or accidentally ease too much in, which leads to a wavy or stretched border. I quit sewing borders on this way once I started longarm quilting, it makes a big difference to cut your borders to the exact length you need them, pin them in place and then sew.
So good luck as you finish all those half square triangles and look forward to an easier month in March with some new skills to help your quilts turn out better from here on out. I promise we’ll get back to the new blocks in April as we begin to construct the second border.
