How to upcycle a vintage sewing machine cabinet
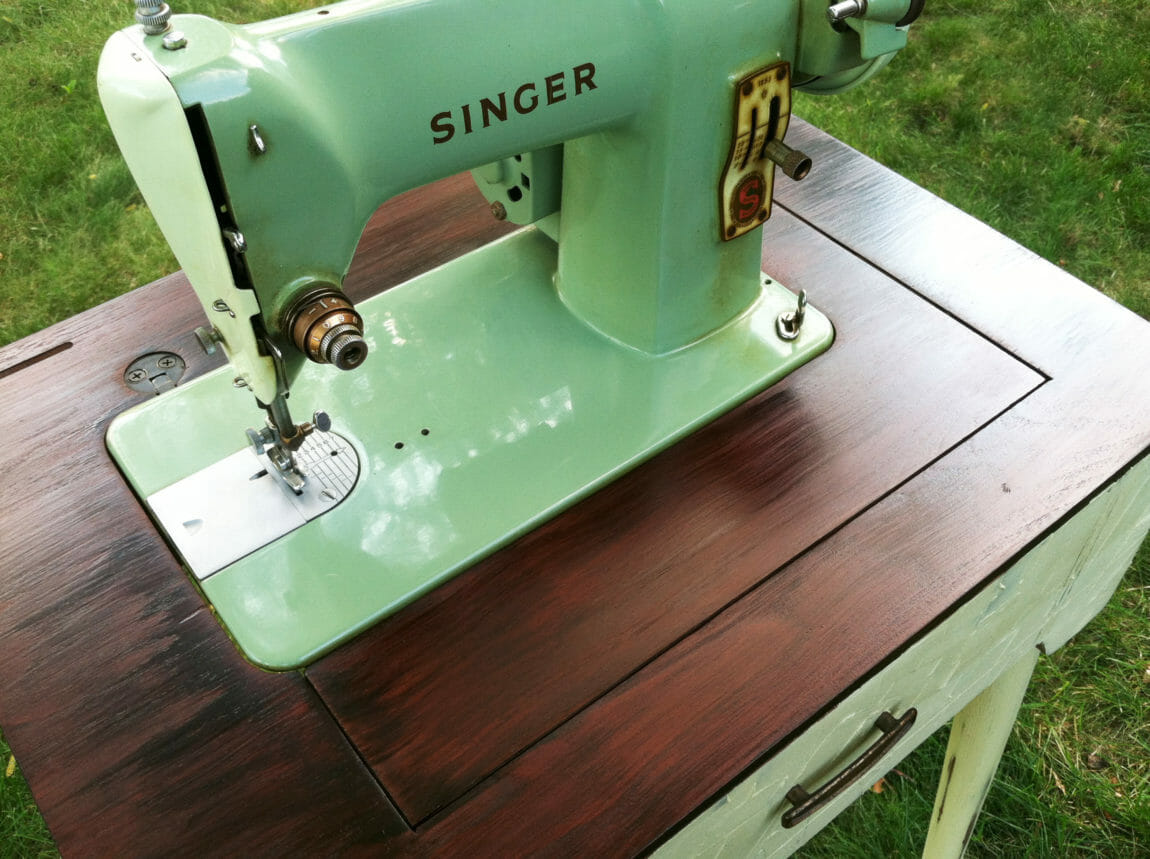
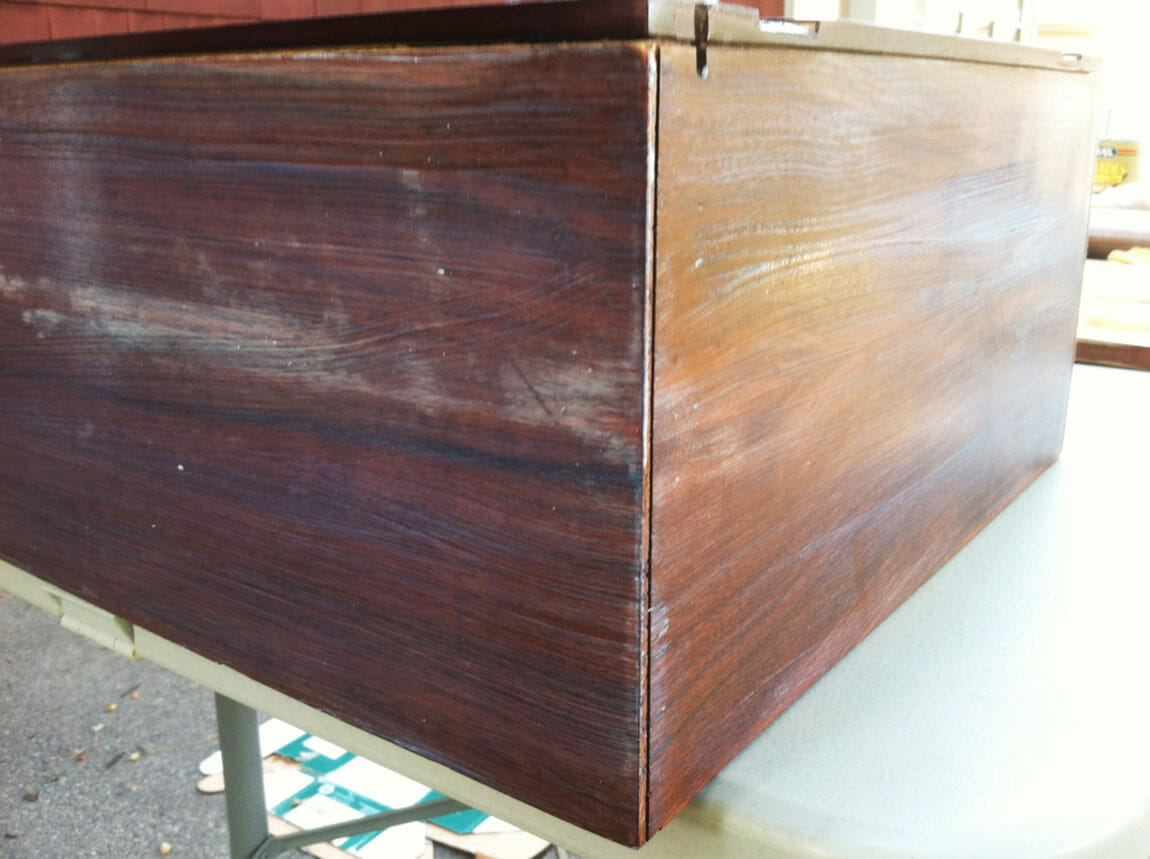
This project has been on the back burner ever since I snagged this seafoam green vintage Singer and sewing machine cabinet for about $50 at the thrift shop a couple years ago. When I got it, the legs were shaky, the wood top was scratched and the stain was dull and boring.
My vision was to transform the sewing cabinet and give it a new look that honored its vintage roots, while modernizing it for display. The plan was to refinish the top and hinged lid in a dark stain, and paint the base of the cabinet to match the color of the sewing machine with a special paint that would produce a crackled, worn effect.
Follow along to see how I did it.
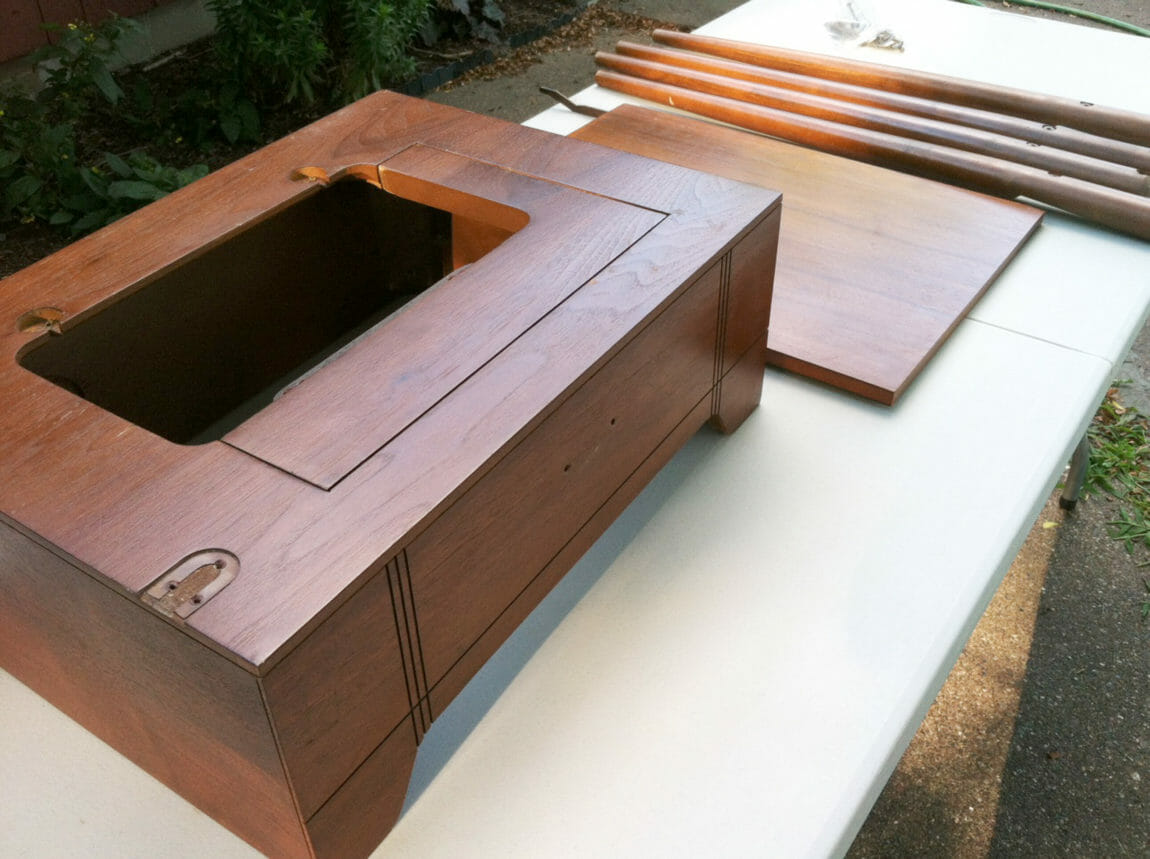
First I took the entire sewing cabinet apart and removed all the hardware. Nothing ruins a good paint job more than left over specks on your draw pulls and hinges. Plus taking the cabinet apart makes the pieces easier to prep and paint. I also filled all the scratches with stainable and paintable wood putty.
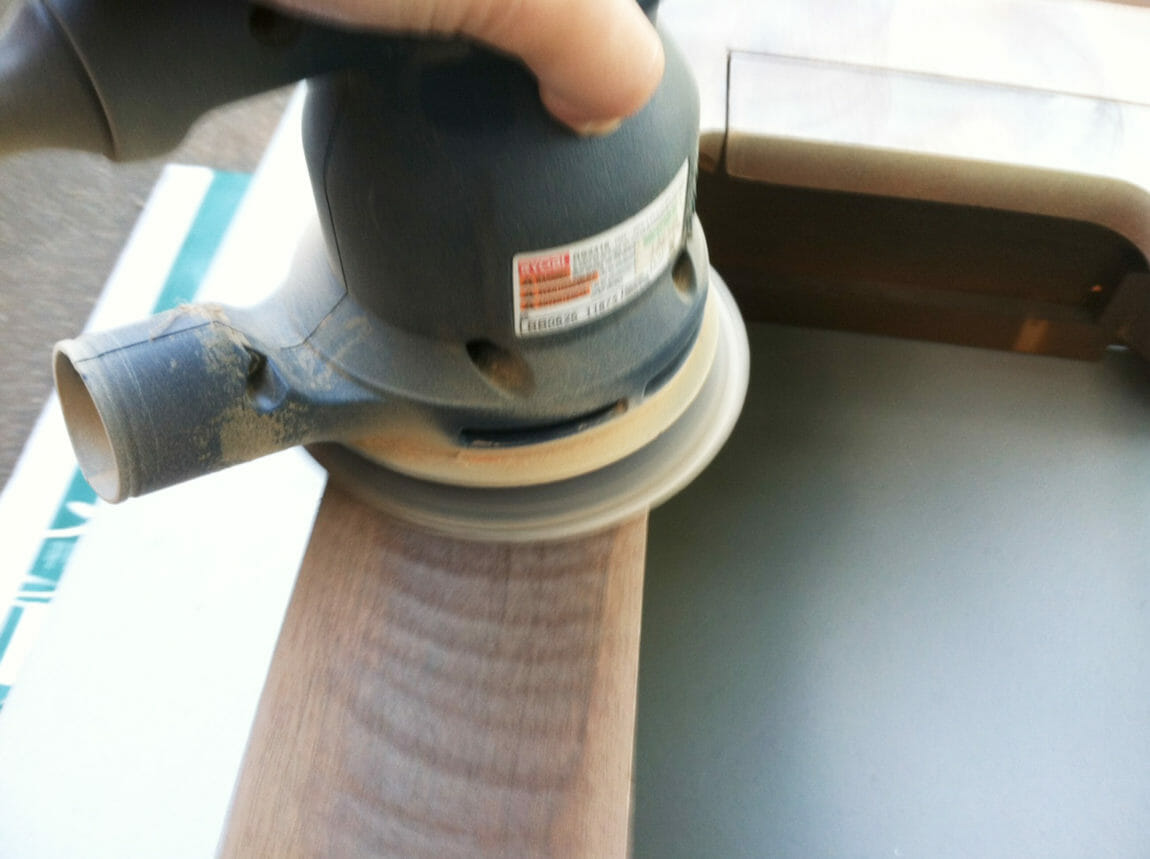
The paint I chose did not require sanding, but it is absolutely essential to sand before staining and refinishing furniture, which I planned to do on the top of the cabinet. You don’t have to take the piece of furniture down to bare wood, but you do have to remove the top layers of polyurethane (the shiny part) in order for the new stain to adhere properly. I used an orbital sander for this step and 150 grit sandpaper. If your sewing cabinet has curves, then I suggest sanding the curved pieces by hand.
Tip: Always sand in the direction of the wood grain.

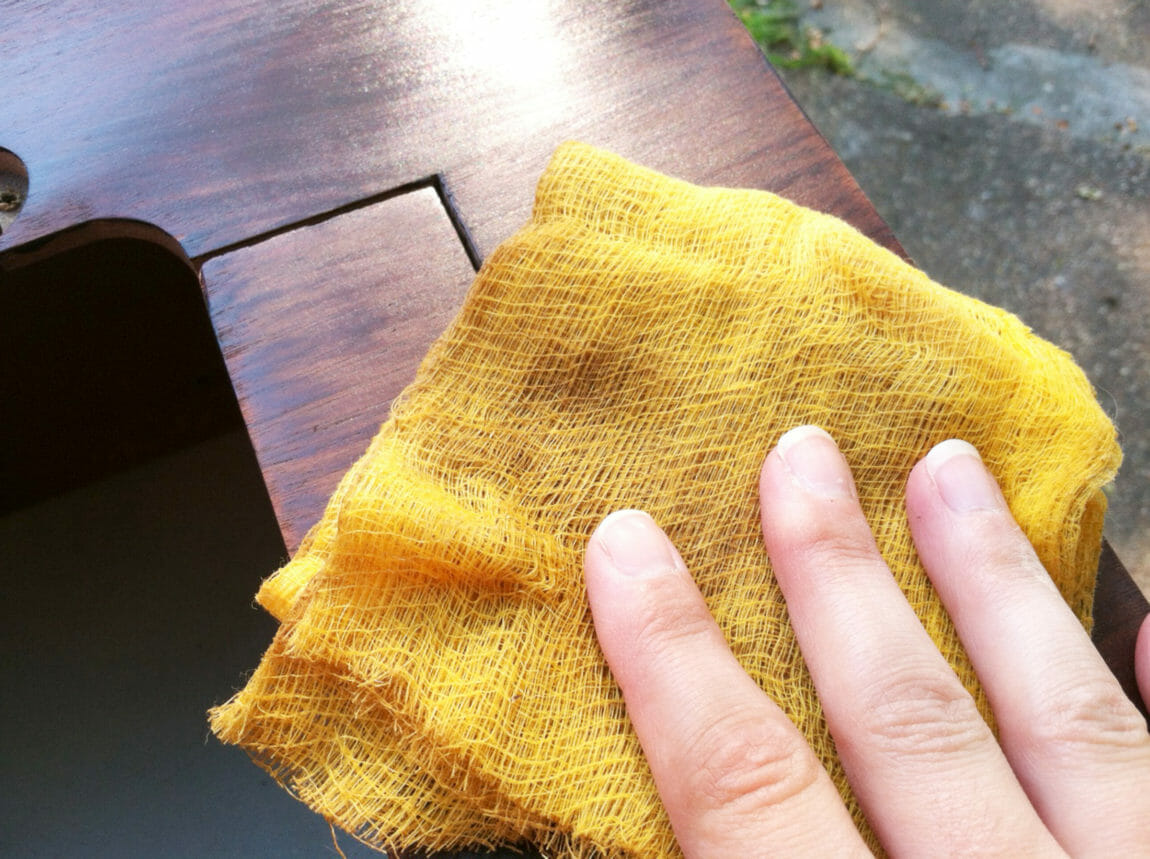
Wipe your surface clean of dust and sanding residue with a tack cloth.
Tip: Just as the name implies, a tack cloth is tacky and leaves a sticky residue on your hands. Dish soap will remove it, or you can wear rubber gloves.
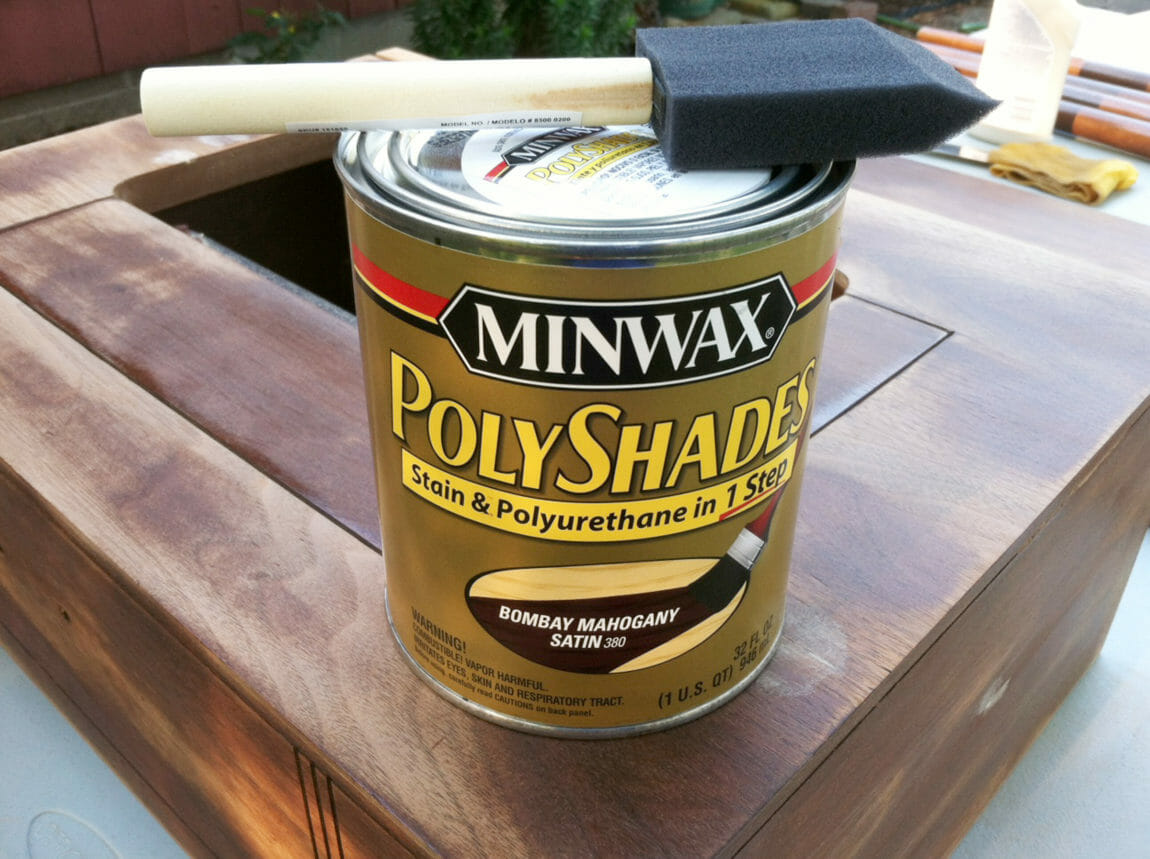
I chose Minwax PolyShades Stain & Polyurethane in 1 Step in Bombay Mahogany Satin for this project. It was the first time I used a 2-in-one product and liked the way the finish turned out. I definetely recommend it for this project because it saves time and money over staining and applying polyurethane separately.
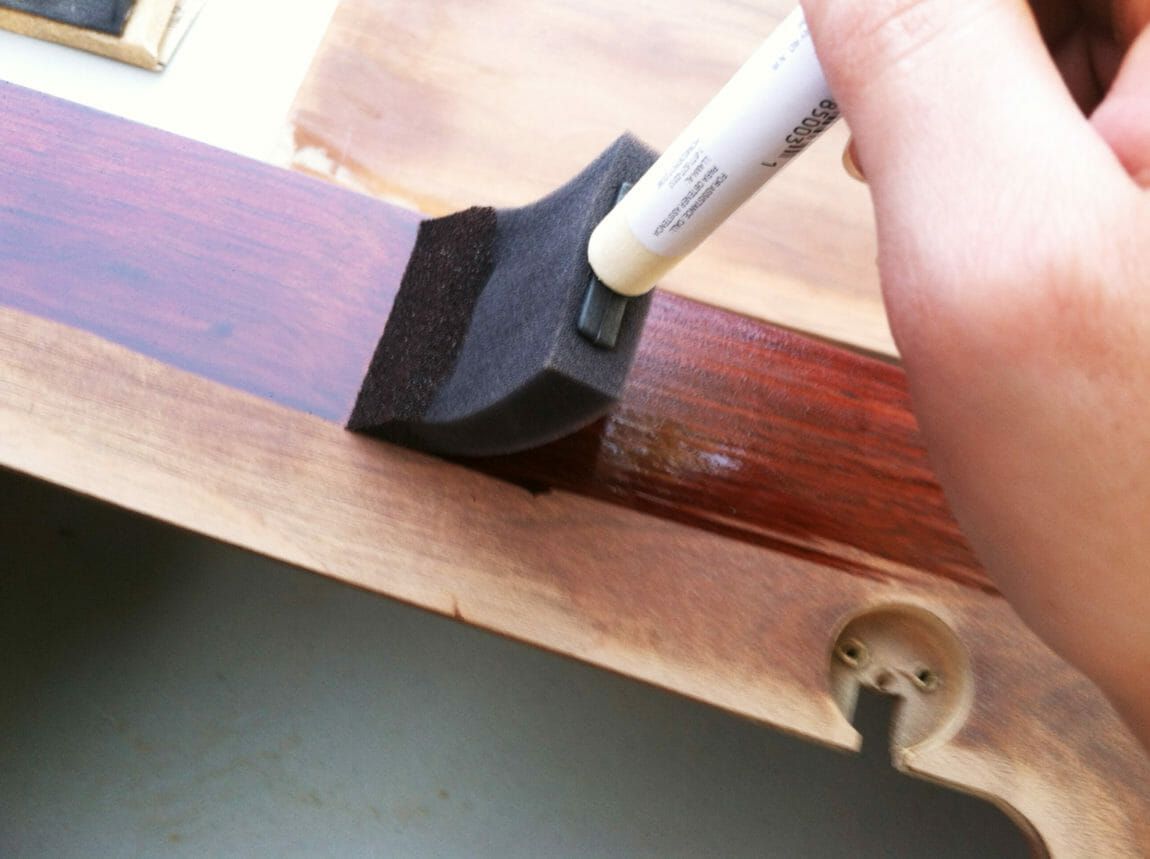
To apply, dip the tip of a foam brush in the can, wipe off the excess on the edge and spread it in a smooth line across the surface to be stained. Work in the direction of the wood grain, and always maintain a wet edge. To avoid bubbling, when you’re done with one length of wood, run the foam brush from one end to the other in a single, even stroke. That will smooth out the stain and polyurethane. You may need to repeat that step until you are happy with the smoothness.

Let the stain and polyurethane dry for at least six hours or overnight in humid conditions. Then use steel wool with a #0000 grade to smooth out the polyurethane. When you first run your hand over the refinished surface it will feel slightly rough, like a fine sandpaper. Gently rub the steel wool in the direction of the wood grain until the roughness goes away and you’re left with a smooth feeling.
Wipe away any dust with a tack cloth, then add a second coat of stain and polyurethane combination, smooth it out with the steel wood and finish with the tack cloth. You may want to add a third coat, if you still want a deeper, richer color. But only two coats are necessary to preserve your finish.

Tip: Save money on your upcycle by keeping your foam brush in a plastic sandwich bag between applications. It will stay wet and useable for up to 24 hours.
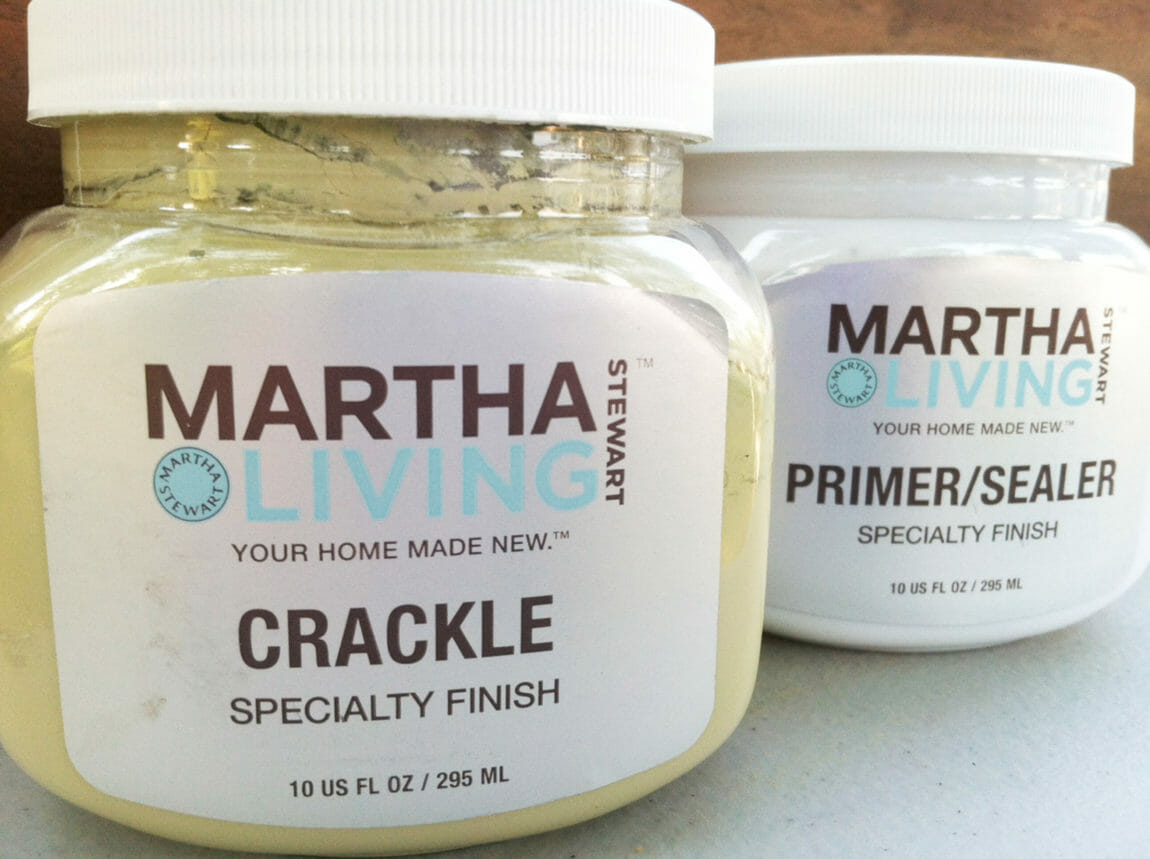
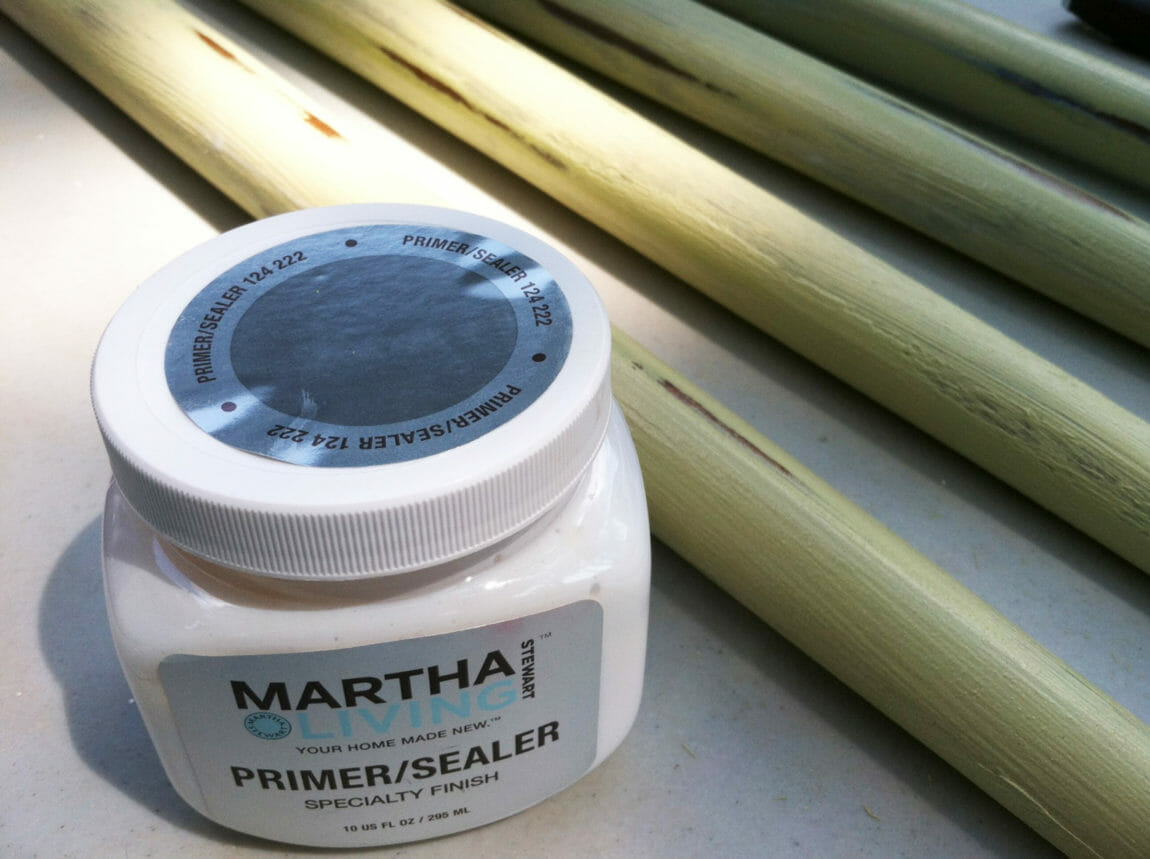
For the paint on the base of the sewing machine cabinet I chose Martha Stewart Living Crackle in Weeping Willow, available at Home Depot. It is essential you use this specialty paint with Martha Stewart Living Primer/Sealer, and apply it with a putty knife or trowel in order to get a cracked finish when it dries.
First apply a coat of the Primer/Sealer to the area you plan to paint. It will go on in a transparent, milk-like consistency and dry clear. You do not need to sand or fill nail holes before applying this paint. Let the Primer/Sealer dry for 30 minutes.
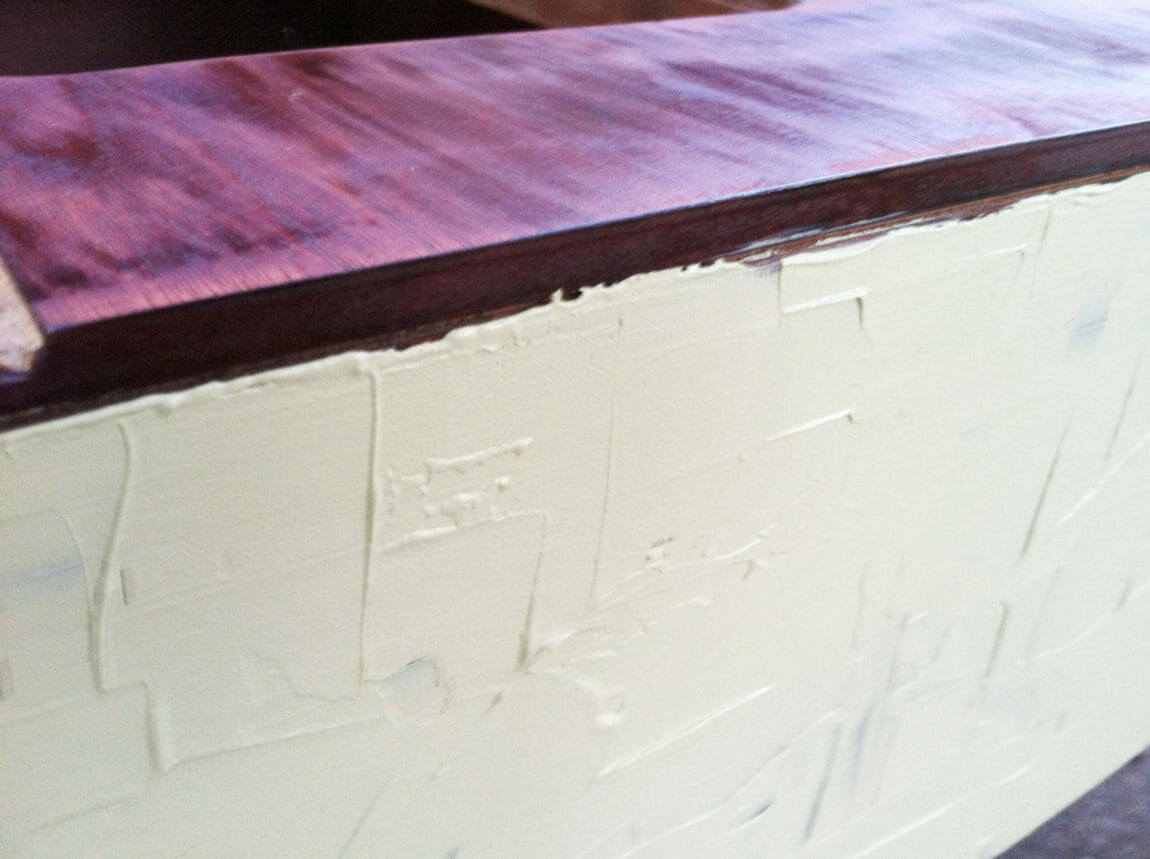
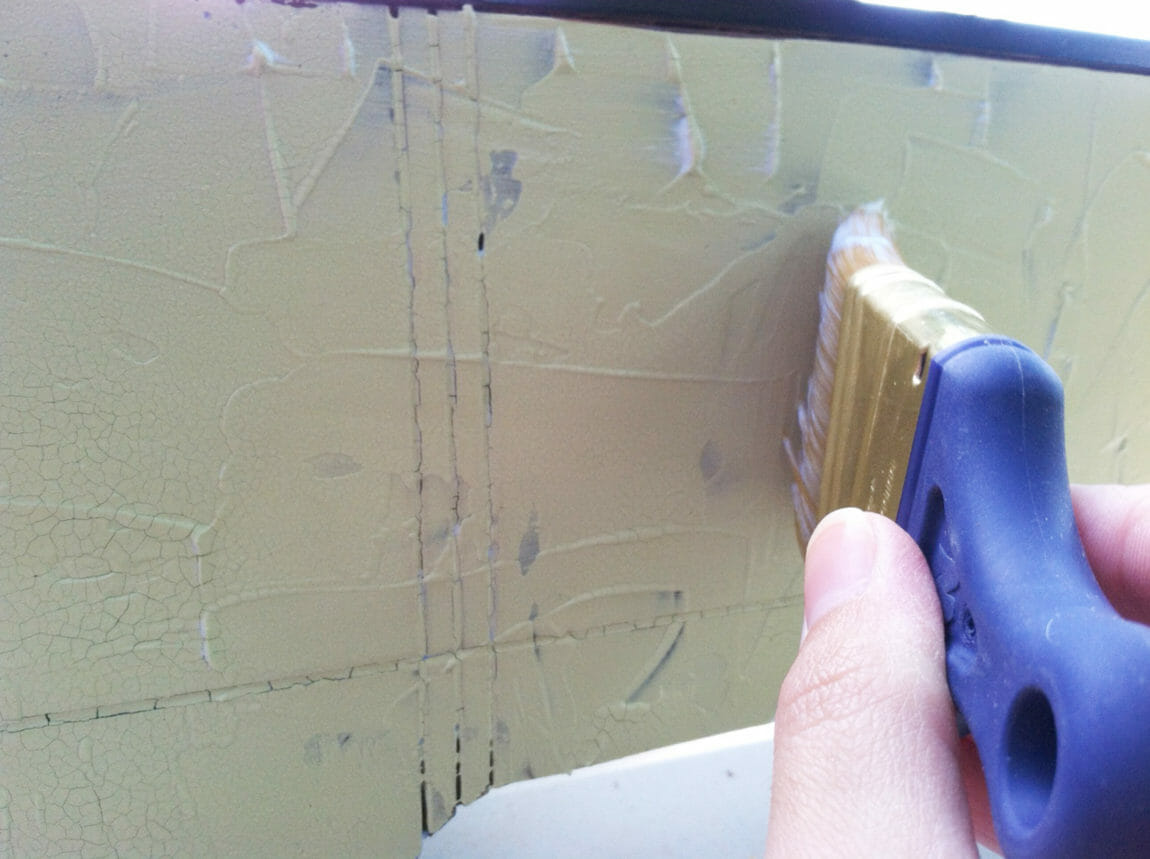
Use the putty knife or trowel to spread the Martha Stewart Living Crackle over the area to be painted. The paint will go on smooth and crack as it dries. Keep in mind that any rises in paint will not even out as it dries, so if you want a smooth finish, make sure the paint is perfectly flat by spreading it out with a trowel. I wanted a rough look, so I just slapped it on with a putty knife. Let the paint dry for 90 minutes to 3 hours.
Protect your finish by applying a final coat of Primer/Sealer.
Tip: This is not my first rodeo when it comes to painting or refinishing furniture, so I know I have a pretty steady hand. If you don’t have a steady hand, or don’t know if you do, use painters tape to mark off areas to keep stain and paint from ending up where it isn’t supposed to. Wait for surfaces to dry completely before taping them.

For the sewing machine cabinet legs, I did not want a crackle look. So I spread the Crackle paint using a paint brush, instead of a putty knife or trowel. The result was a gritty look that showed the brush lines, and fit right in with the rough look I was going for.
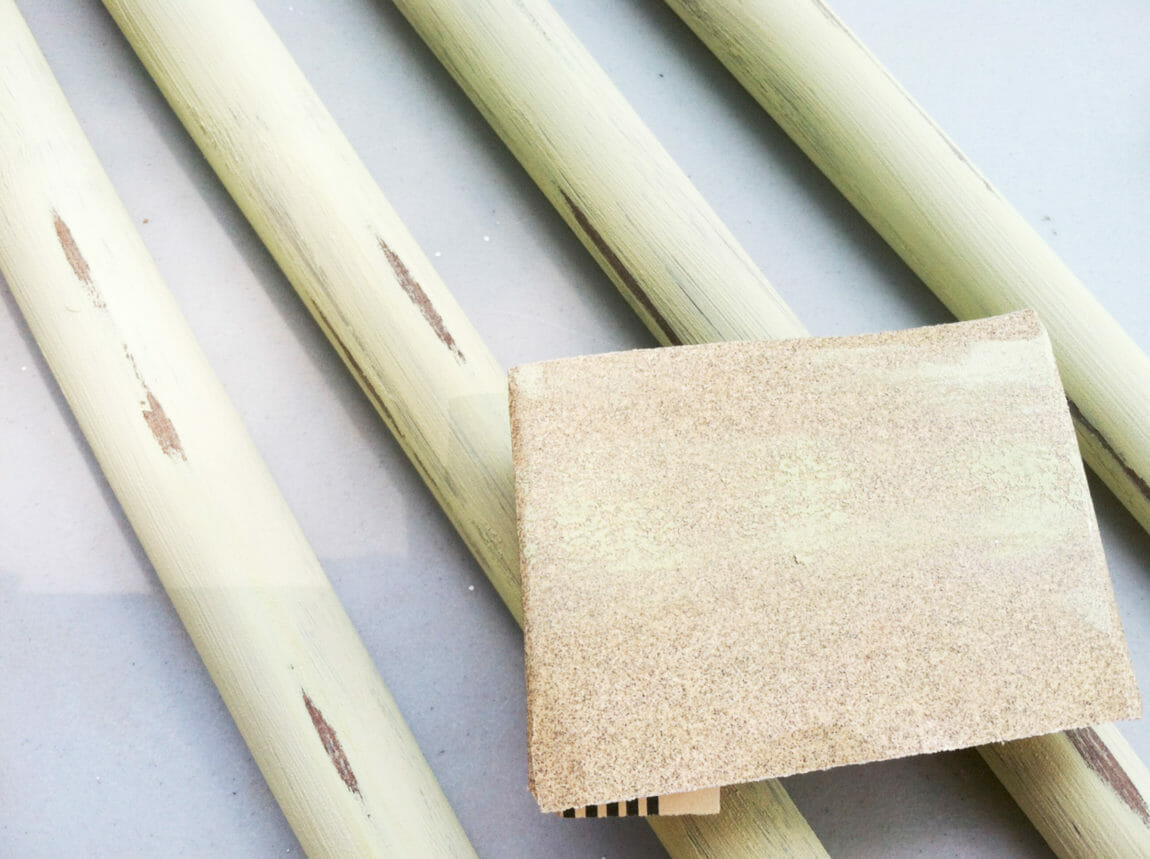
To enhance the distressed look, I used sandpaper to remove some of the paint at various spots on the legs.
Remove dust with a tack cloth and add a coat of Primer/Sealer.
Tip: Only paint one side of the legs at a time so they don’t stick to the surface you’re working on.
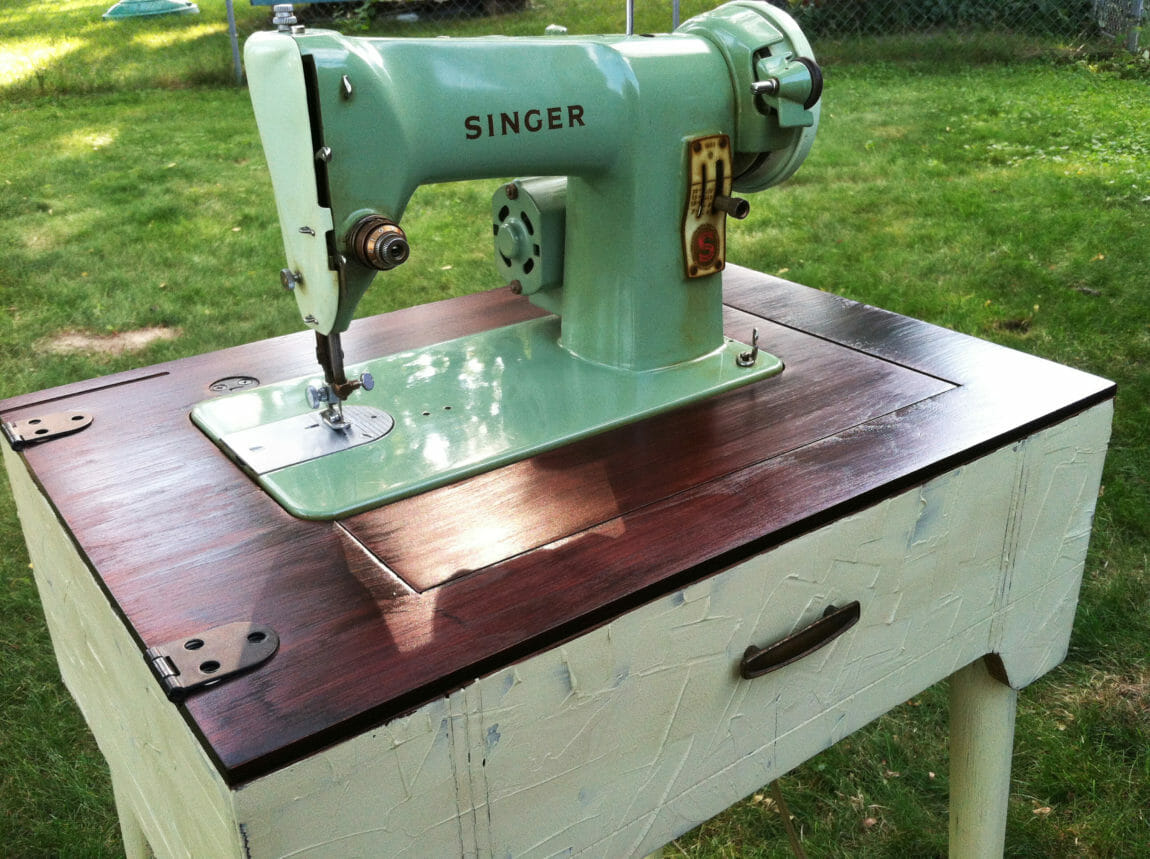
Reassemble your sewing cabinet and share your pictures on all your social networks so your friends can oooh and aaah over your great work.
Tip: I got this sewing machine to shine by cleaning it with stainless steel cleaner…Yes, the same stuff you use in your kitchen sink.
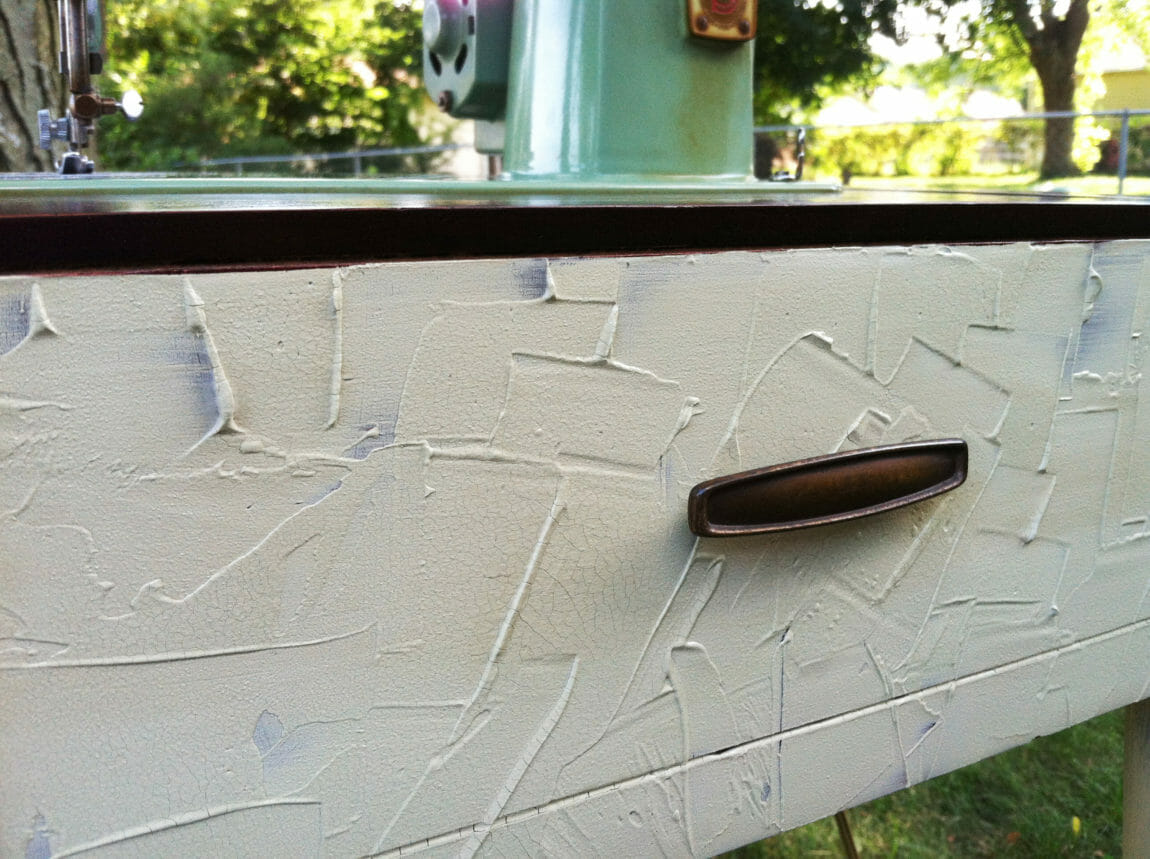
Tip: You can reuse existing hardware, like I did in this photo, spray paint existing hardware to give it a fresh look, or just buy new. If you buy new, fill the holes from the old hardware and drill new before you begin painting and refinishing.
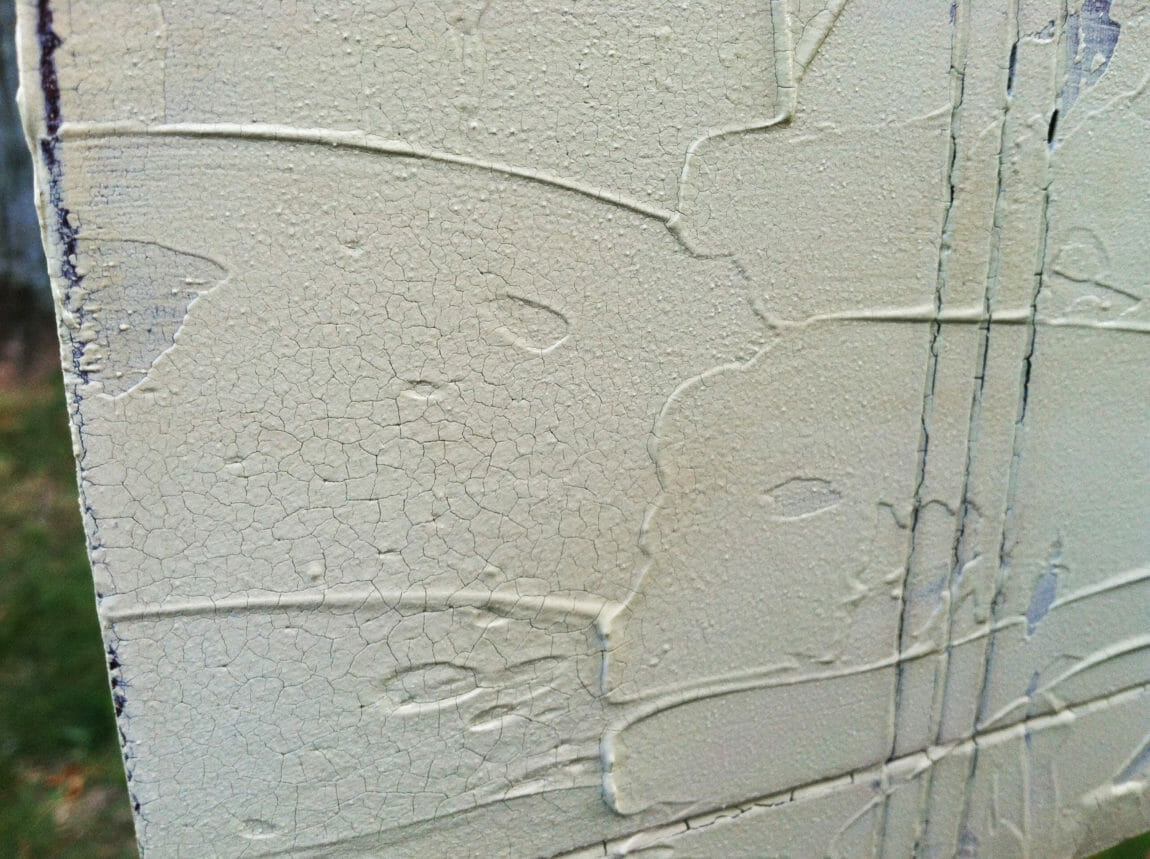
Tip: Apply the Martha Stewart Living Crackle paint thickly to achieve large cracks in the finished product, and thinly to get small cracks.
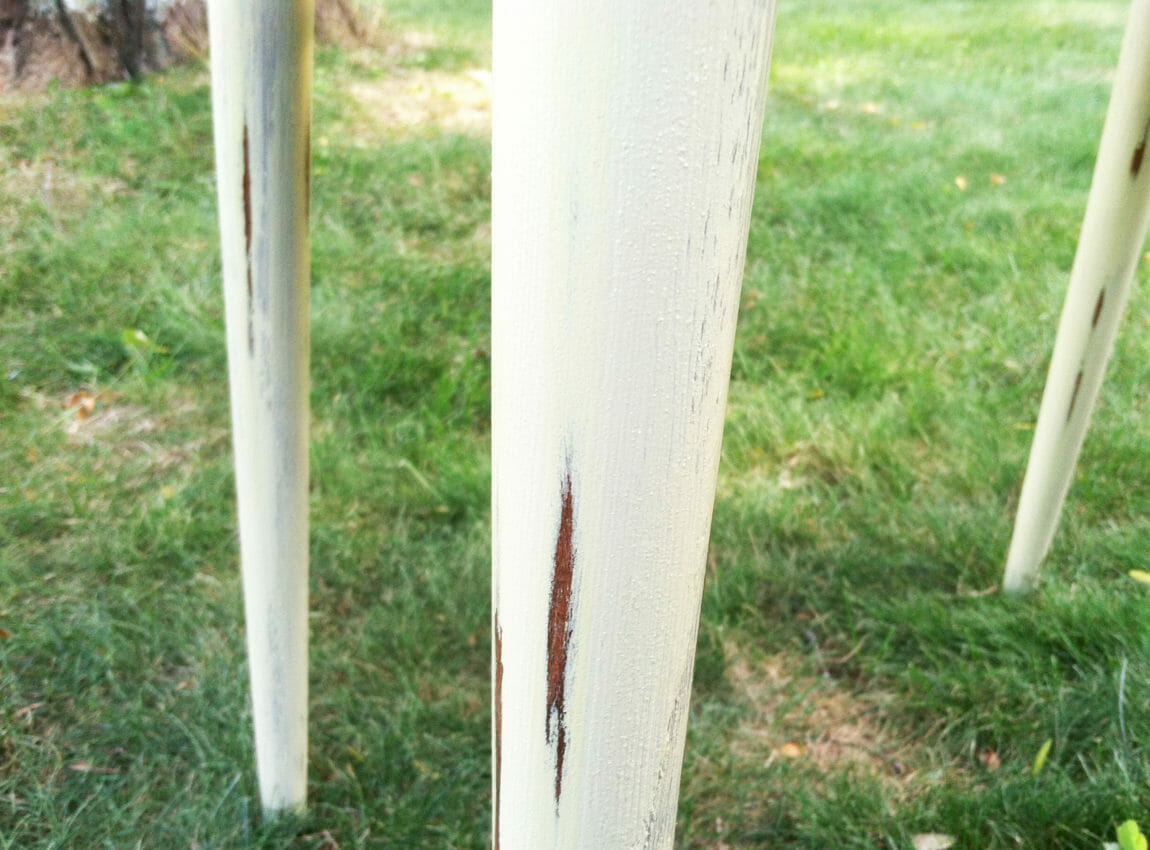
Tip: Sand the legs on the edges that would mostly likely be worn by objects bumping into it to create the look of a well-love piece of furniture that has withstood some abuse over the years.


Love your sewing machine find….it is exactly like the one I have from my grandmother who taught me to sew. Some day I may get around to refinishing the cabinet like you did. Great job.
Thanks so much for this tutorial. I have been wondering what t do with a couple of my sewing machine cabinets and didn’t know how. I guess I do now!
Thanks for all you do!!!
You should subscribe to the blog. I’ve got another sewing cabinet upcycle in progress that I’ll share soon!
Oh, Stephanie!!!!! This is the first time I have visited this site, and look what I found!!!!!! This almost brings tears to my eyes! My grandmother gifted me with this little machine when I was a sophomore in high school and I used it for years, at home, then in my dorm room and then after I married I finally got a cabinet for my baby! And, my cabinet is still in pristine condition!!!!!!! I suppose that when I die, my little green baby will be donated to a charity shop too. I hope someone will take her home and love her——but not paint her living quarters with crackle paint! Sorry.
Thanks so much for this repurposed sewing machine cabinet and instructions. I have one but not as vintage as this one. I was afraid to touch it but I wanted to refinish it so now thanks to you I can.
I also inherited one of these wonderful machines. My repairman says they are work horses and you can’t get a better machine for sewing. I love her and she runs like a top which I thank my sewing machine man for. I pulled her out of retirement about 15 years ago and she hasn’t stopped. I love the cabinet which is cherry. I might refinish by restoring the cabinet to it’s original state, but I could never ruin the beautiful wood cabinet by painting it. It takes the value of the machine and cabinet away, any antiques dealer would tell you that. I hope to pass my machice on to my daughter one day and she will treasure it because I taught her to sew with it. I know it’s different strokes for different folks, we’re all different, that’s what makes the world go round. I just would much rather see a beautiful natural wood than a painted surface. To me that’s ruining the beautiful wood cabinet, but if it makes you happy that’s all that matters. Thank you for sharing your project with us. It turned out nicely for shabby chic decor. I’m sure you’ll have a special place for your machine too and you’ll proudly pass it on to your family. Nicely done. I’m looking forward to your future projects!!
I also inherited one of these wonderful machines. My repairman says they are work horses and you can’t get a better machine for sewing. I love her and she runs like a top which I thank my sewing machine man for. I pulled her out of retirement about 15 years ago and she hasn’t stopped. I love the cabinet which is cherry. I might refinish by restoring the cabinet to it’s original state, but I could never ruin the beautiful wood cabinet by painting it. It takes the value of the machine and cabinet away, any antiques dealer would tell you that. I hope to pass my machice on to my daughter one day and she will treasure it because I taught her to sew with it. I know it’s different strokes for different folks, we’re all different, that’s what makes the world go round. I just would much rather see a beautiful natural wood than a painted surface. To me that’s ruining the beautiful wood cabinet, but if it makes you happy that’s all that matters. Thank you for sharing your project with us. It turned out nicely for shabby chic decor. I’m sure you’ll have a special place for your machine too and you’ll proudly pass it on to your family. You made a great tutorial and that isn’t easy to do. I feel like I could do this project if I wanted to following your instruction. Nicely done. I’m looking forward to your future projects!!
Please delete my first comment, it is not complete. The second comment is complete. It would not allow me to delete the first comment, just coppied it so I could make changes. That must be the way you have it set up, because I couldn’t delete the first comment. I don’t know how it happened, but I was not done with the first one when it posted. Thanks so much for your help and tutorial.
Kathy
Hello, I just bought this machine today from the Goodwill for $5.00 – the only reason I bought was for the color…. It is in overall good shape – cabinet too. My question is what kind of machine is this? Is this a quilting machine of some sort?