Tutorial: How to make a quilt label
Quilt labels are an essential part of any quilt you make. At the very minimum a quilt label should include your name so future generations will know that is was great-grandma who make the cherished family heirloom. But label can also ensure your quilt is returned to you if it is every lost and is a must if you’re going to enter your quilt in a show.
There are lots of ways to make a quilt label, I’m going to show you my preferred method today. I like this method because the label is sewed into the binding, making it harder to remove, and the important information is stitched into the label, instead of written in fabric pen or ink that could fade with time.
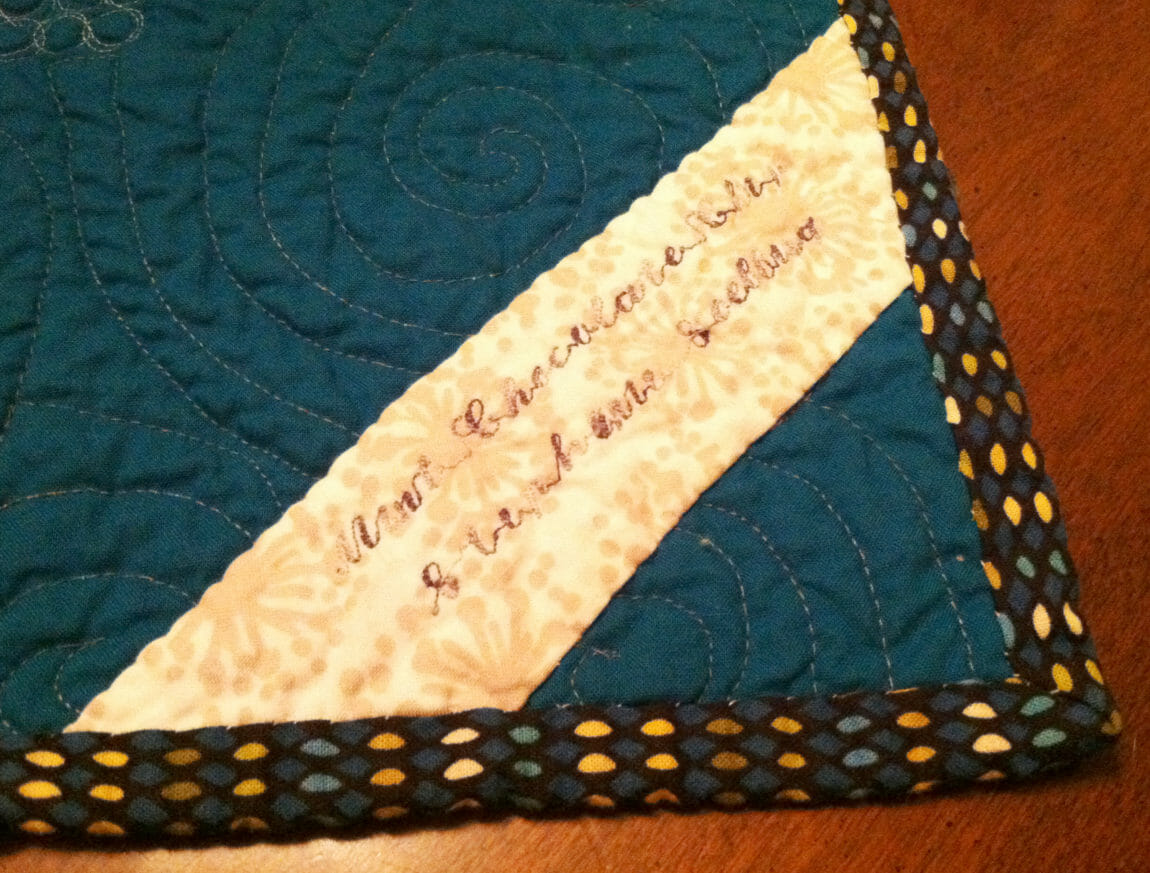
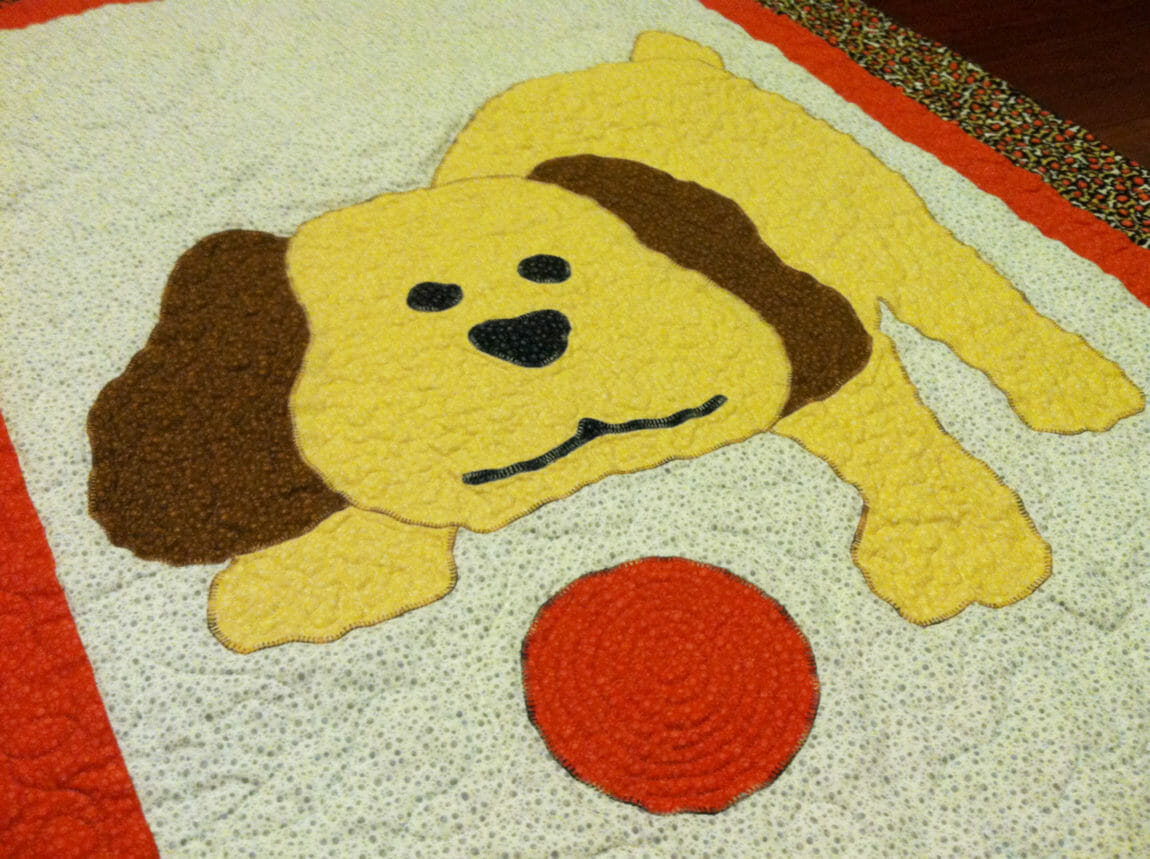
Plus, I just like the look of a pop of fabric on the bottom corner of the quilt backing.
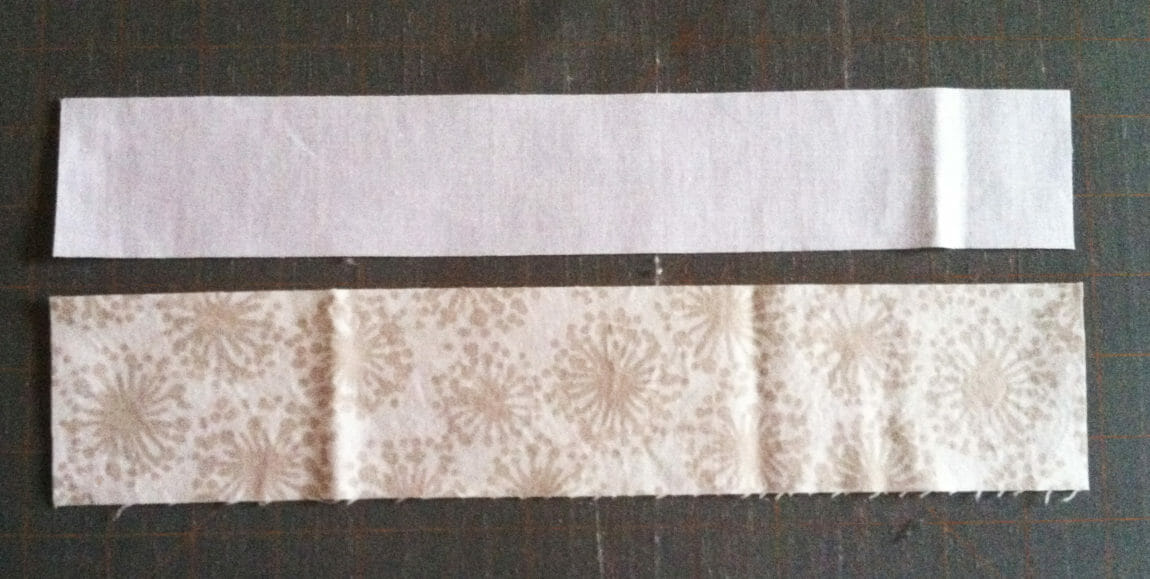
Step 1 – Cut a piece of fabric 2 1/2″ by 12 1/2″ in a print that is contrasting to your backing fabric. Cut a piece of fusible woven interfacing that is 2″ by 12 1/2″.
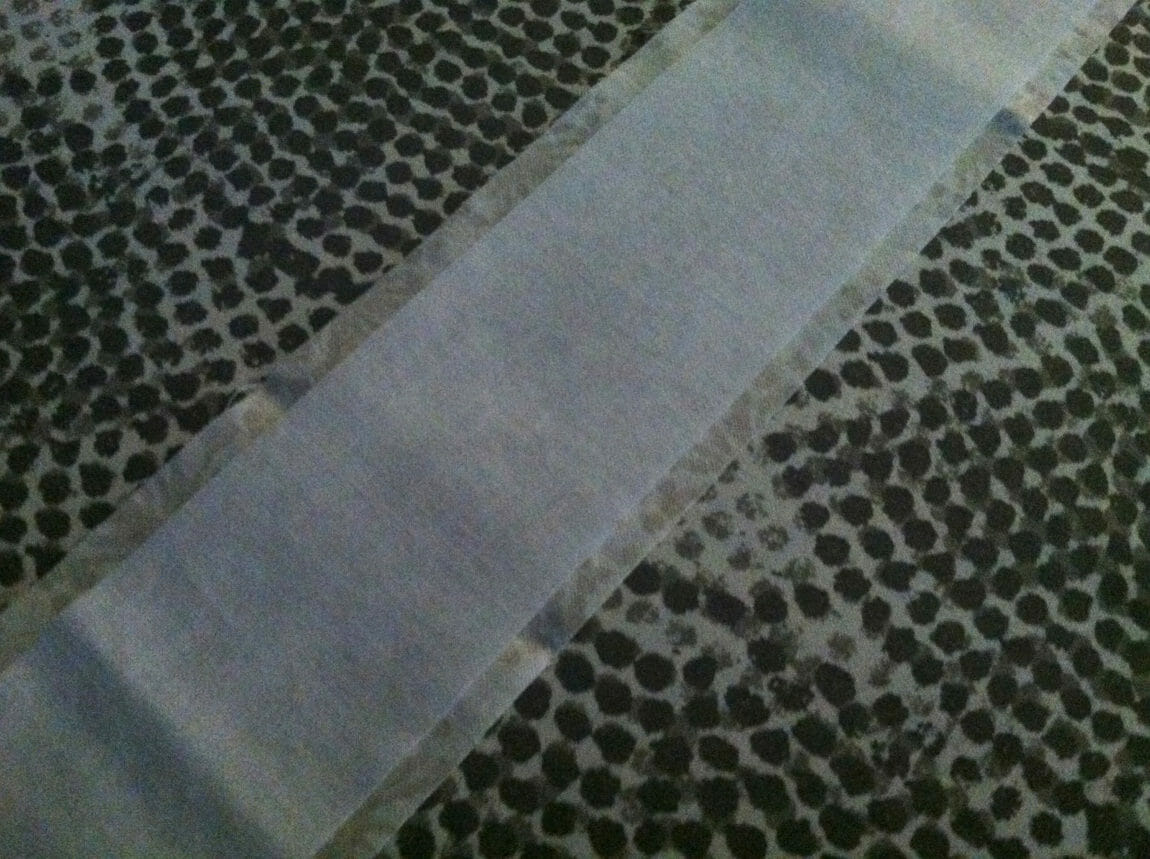
Step 2 – Lay the fabric wrong side up and the interfacing fusible side down. Make sure there is a 1/4″ fabric on either side of the fusible interfacing.

Step 3 – Follow the manufacturer’s instructions to fuse the interfacing to the wrong side of the fabric.

Step 4 – Pres the 1/4″ of fabric in to create a folded edge on either side of the interfacing.

Step 5 – Use your specialty stitches on your sewing machine to embroider your name, quilt name, year the quilt was made, who it was made for and any other important information about the quilt. While not all sewing machines have an embroidery function, many have a simple alphabet to choose from. Use your sewing machine manual to create the words you want on your label. I usually start my letters 2 1/2″ to 3″ in from the short side and use the throat plate to make sure the label stays straight.
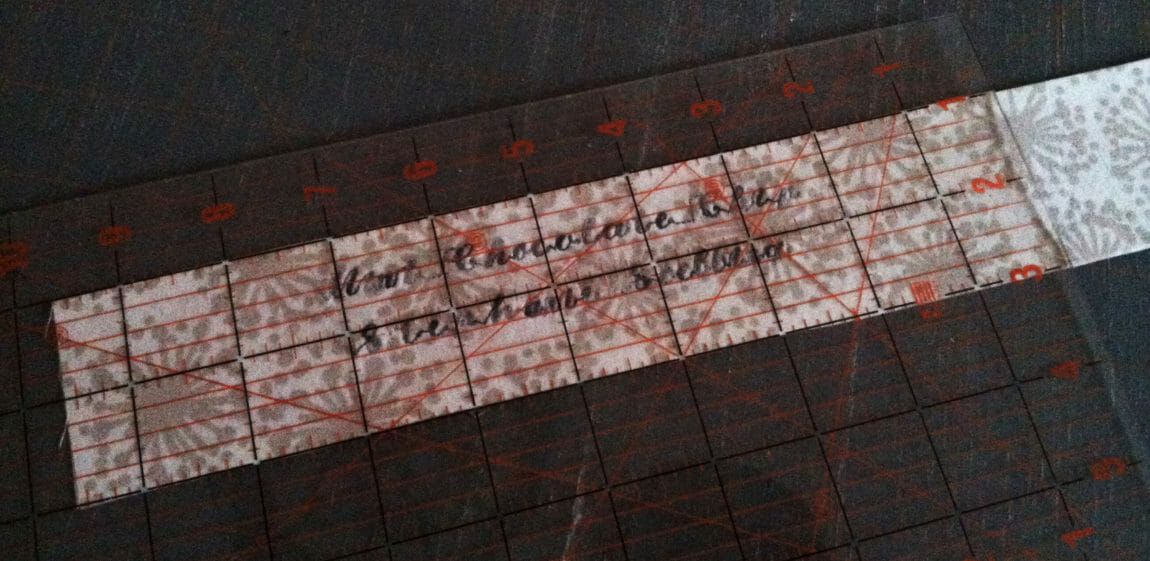
Step 6 – Trim the label so the words are in the center and there are equal amounts of fabric on either side of the letters.
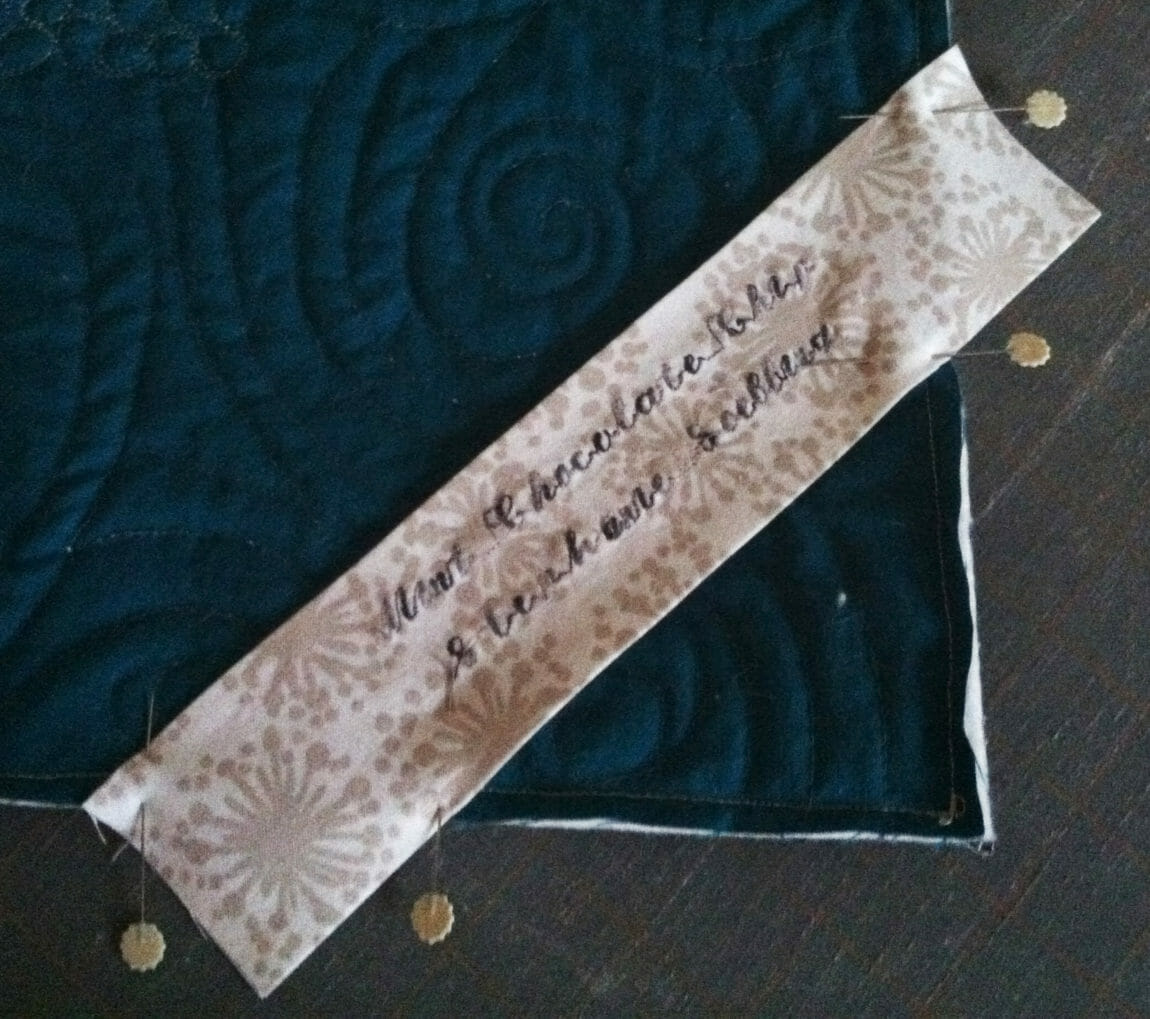
Step 7 – Pin the label to the bottom corner of the quilt. Make sure the top corners are right in line with the edge of your quilt back.

Step 8 – Sew the label to the back of the quilt. Be careful to sew 1/4″ from the edge of the quilt. Your stitching line for the label should be on the same stitch line you used to attach your binding.

Step 9 – Trim the extra corner off so the label is flush with the edge of the quilt.
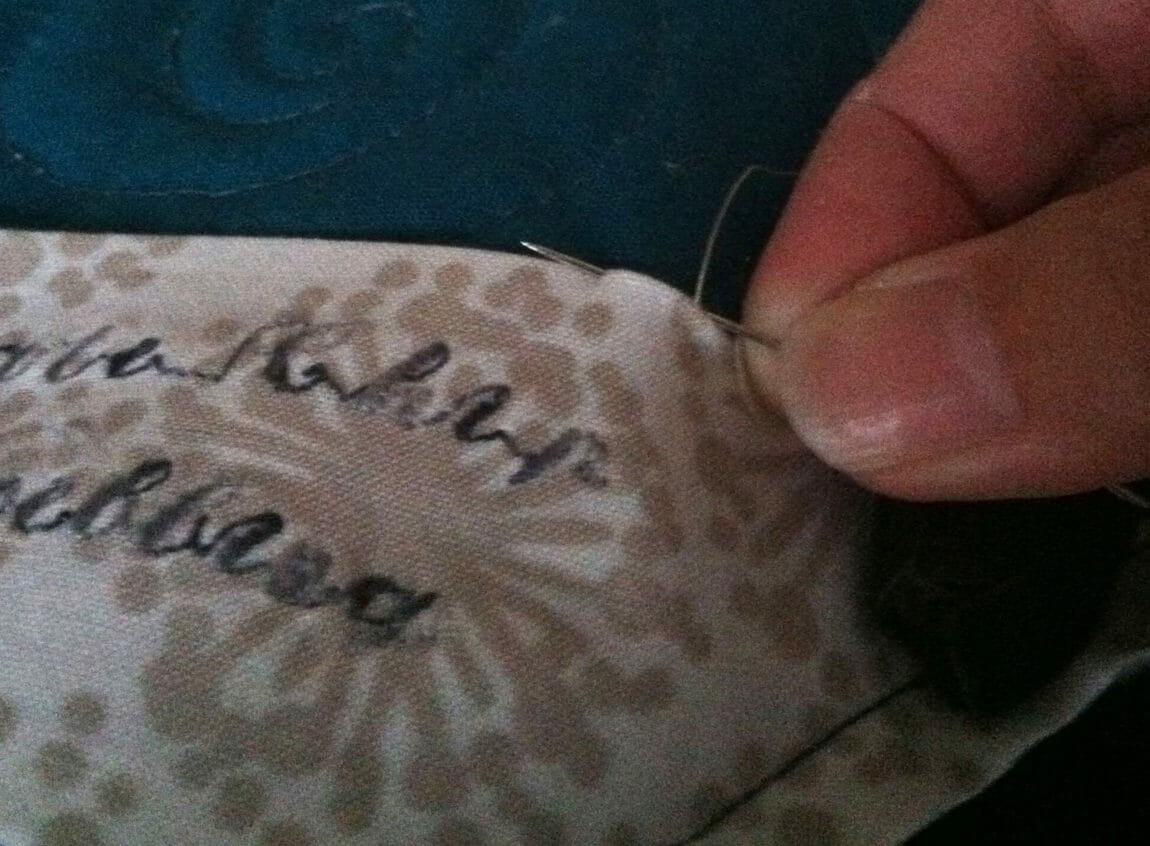
Step 10 – Whip stitch the label to the quilt back. Make sure your stitches are not visible from the front of the quilt.
Step 11 – Continue to bind the quilt as normal.


Thanks for this great idea. I made two labels today based on your suggestions!
Thank you for this information. Great idea to sew into the binding.