How to spray baste a king-sized quilt
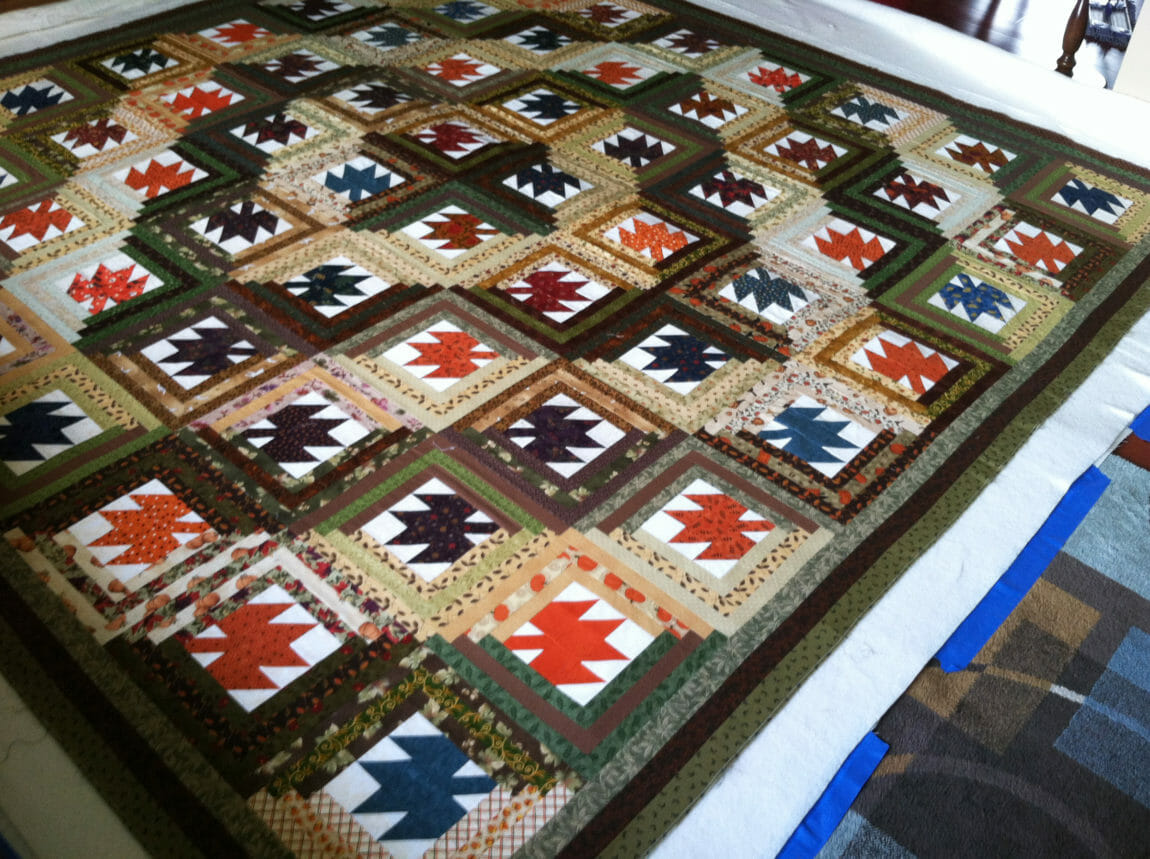
I may have registered my maple leaf log cabin quilt for my guild’s quilt show in September. Which means I actually have to finish it.
The top has been done for a year, but I haven’t quilted it because it is too large for the frame on the longarm I rent time on. There is a larger frame, but I’m not used to the machine and I think I will have better luck on my home machine. I have quilted a queen sized quilt on my Babylock, but it was a bear. So I took Quilting Big Projects on a Small Machine with Anne Petersen on Craftsy so I could get some pointers.
In the class Anne Petersen demonstrates spray basting in a piece of fabric the size of a table topper. It looks easy. It’s not. This is the mega-sized, grab some knee pads and try not to swear like a sailor version.
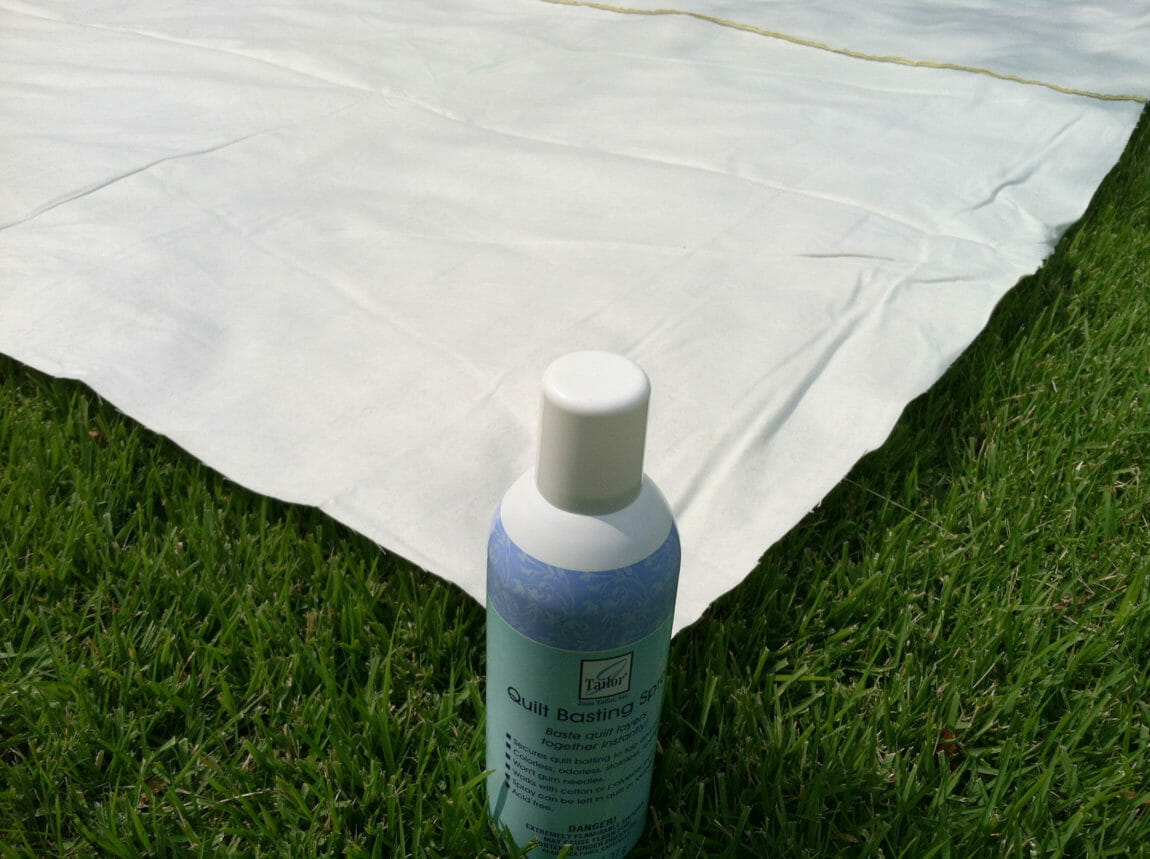
Start with your favorite brand of spray baste. Use one that is acid free so it won’t damage your quilt. Go outside. This is critical. I once got myself a little fuzzy headed trying this indoors with a set of placemats. Lay your backing fabric wrong-size up and spray the backing fabric, following the spray baste instructions. Repeat with the batting.

Lay your backing fabric out on the floor with the wrong side facing up. Tape it to the floor using painters tape. You want the baking fabric to be smooth and taught, but not stretched.
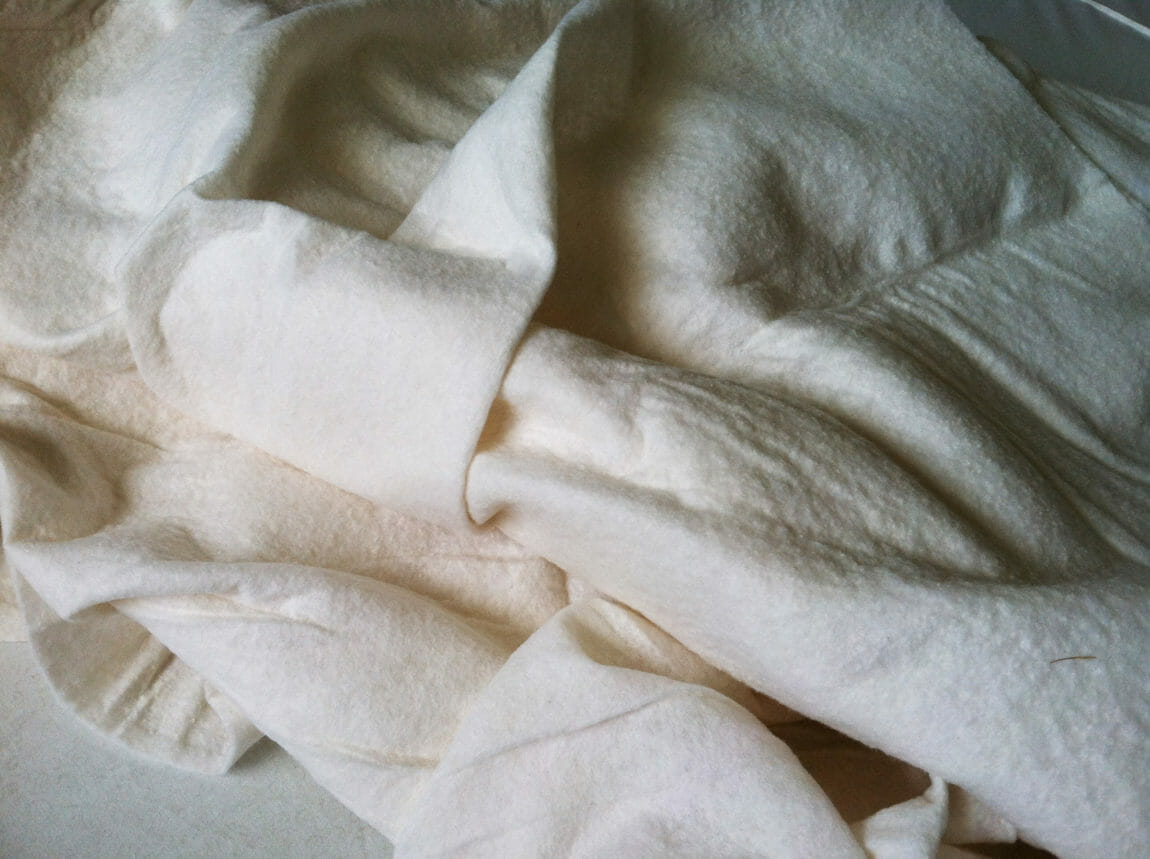
In the Craftsy class, Ann Petersen recommends folding you batting in quarters and simply unfolding it in place. That sounds great in theory. But when you’ve just finished applying spray adhesive to a 120-inch square batting, it look more like this mess above than an neat little folded square.
So with the sticky side up, I matched up one corner of the batting with one corner of the backing fabric.
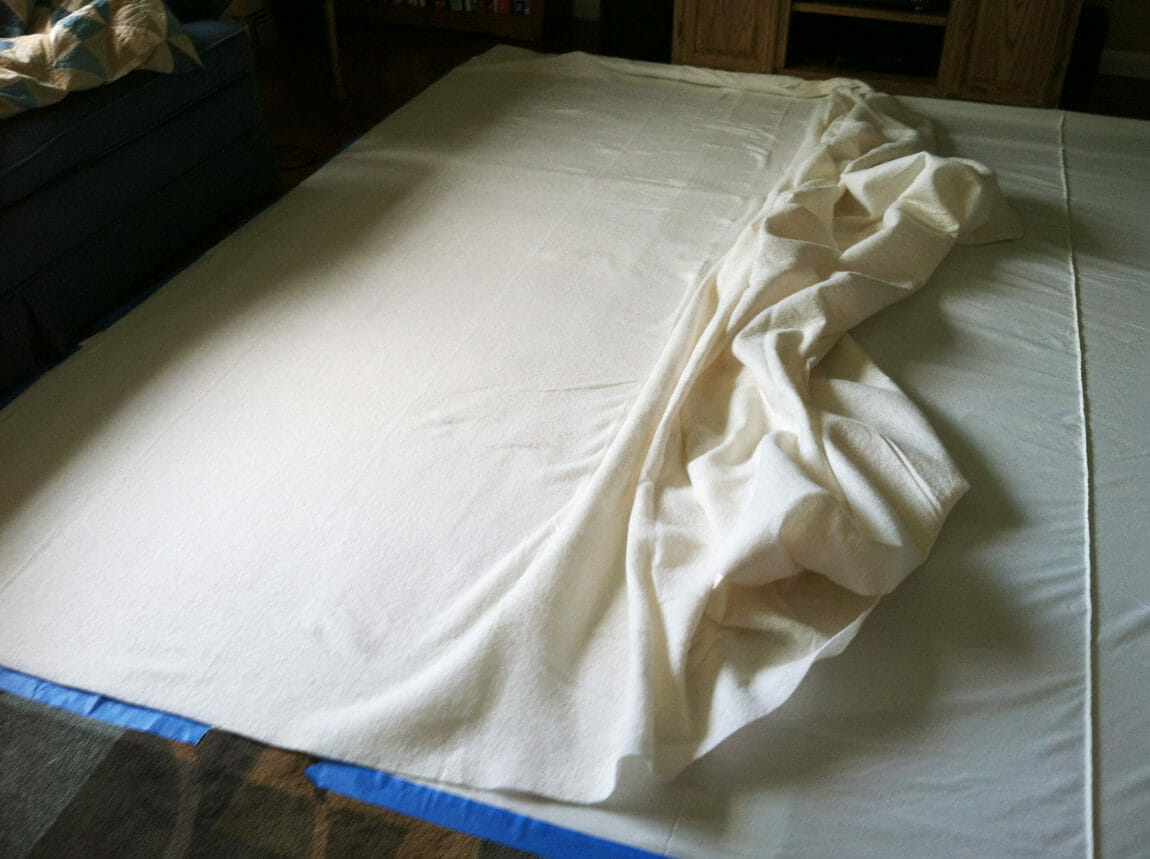
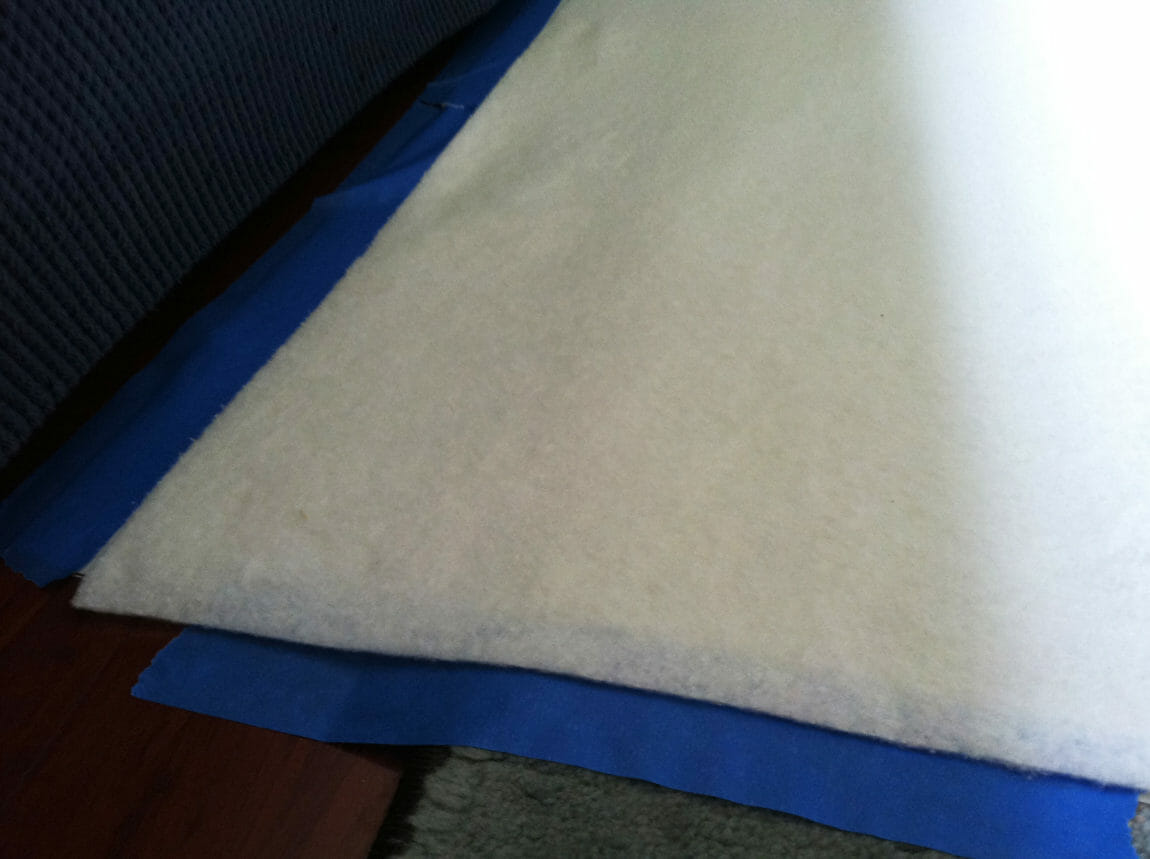
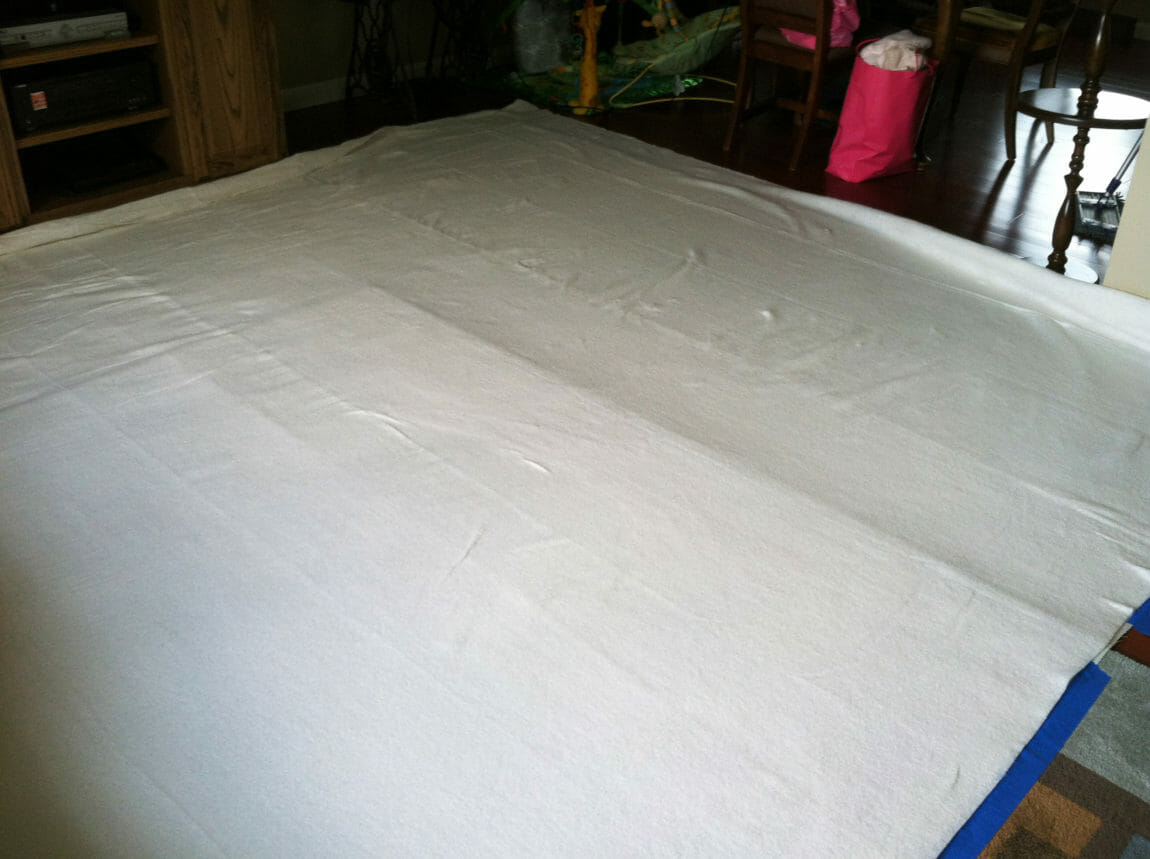
Then while crawling around on my hands and knees, I continued to smooth out the batting and line it up with the edge of the backing fabric along one entire side. When I finished one section, I just kept moving over until the entire batting was smoothed out and looked more like the picture below.

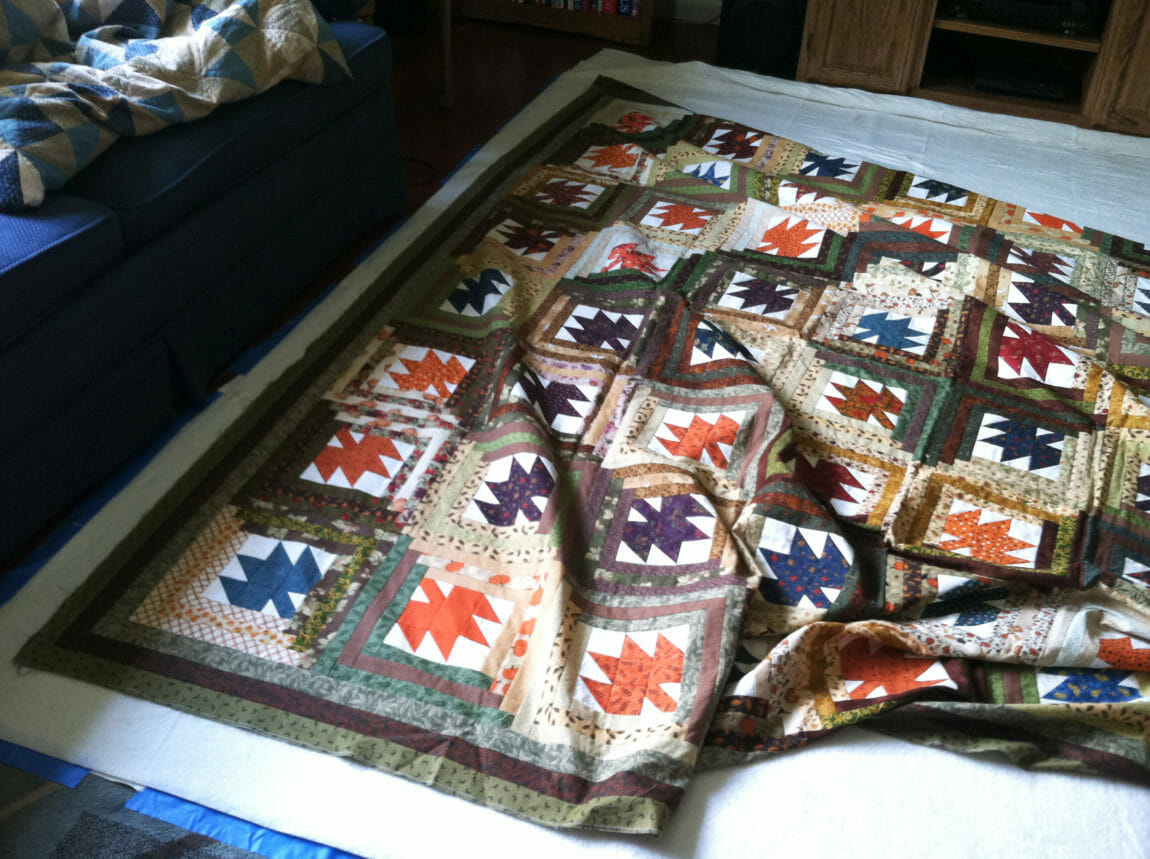
Now it’s time to repeat the process, just with the quit top. I started by arranging the quilting in the corner, this time about four inches in from the edge of the batting and backing fabric.
I recommend changing your pants at this point. You’ve been crawling around on your hands and knees on top of adhesive, so to prevent transferring it to you quilt top, now is a good time to switch your britches and wash your hands.
Then I roughly laid out the quilt top, getting one side in place first and then moving to the other side of the quilt. There is no adhesive on the quilt top, but it does stick to the backing fabric, so this step requires some maneuvering to get it smooth.

It’s not unlike playing with the giant circular pieces of fabric in grade school, where the kids hold their section and flip it to create colorful waves of fabric to watch and run under. Just this time your holding and flipping your quilt top to smooth it out.
Now it’s time to set the quilt top in place as square as possible. I started with the border and left two rows of the quilt and started lining everything up. I crawled around going from block to block, making sure the borders were straight and the quilt looked square and there were no wrinkles in the fabric. When I was satisfied with the placement, I patted it firmly in place against the adhesive. I just worked two blocks at a time so this process wouldn’t be too overwhelming.

Once you have your top in place, it is time to flip it over and heat set the back. At first it is going to look like this, a mess of wrinkles. You’ll want to smooth those out with the iron as you heat set it. Sometimes you can just smooth them out with your hand, other times you have to lift up the fabric and reposition it.
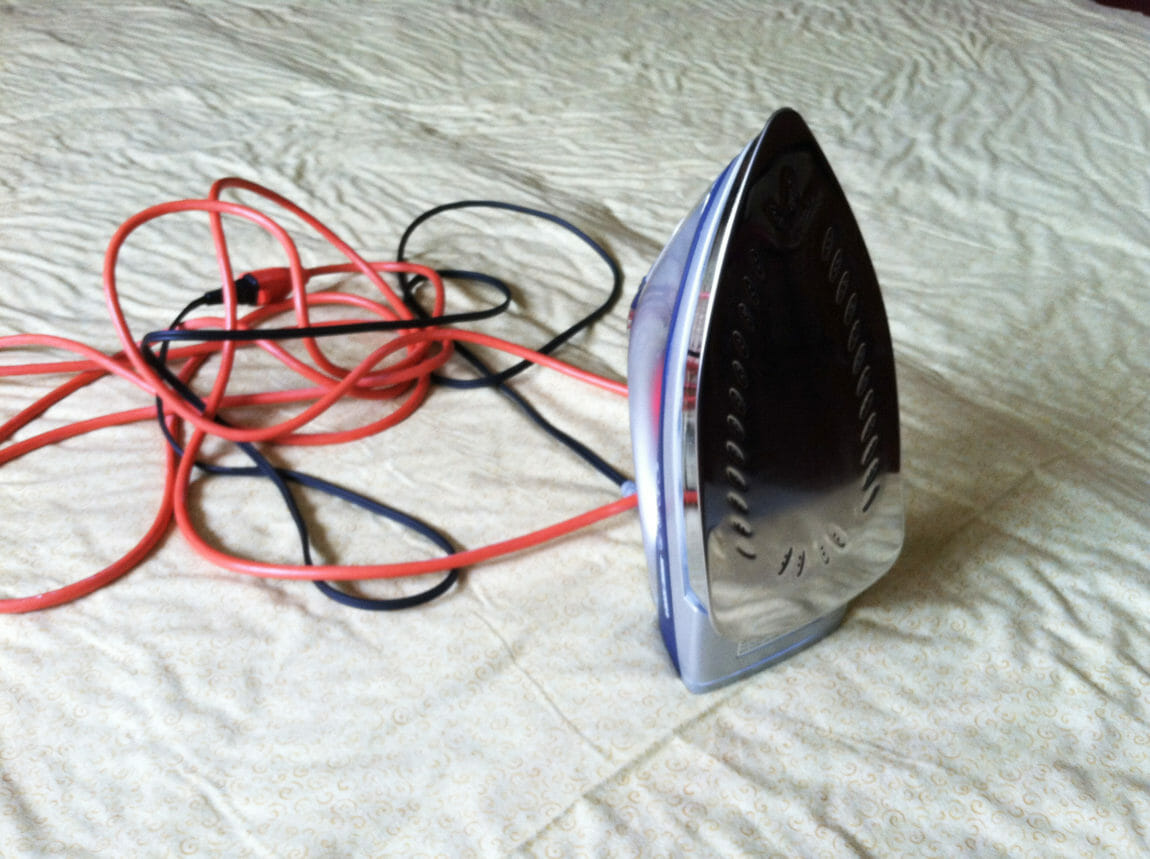
I recommend putting your iron on an extension cord for this step so you can move freely. I started with the center of my backing fabric and worked my way out to the sides smoothing out the fabric as I went. I was a little worried about what the heat from the iron would do to my floor, but I kept it moving and never left the iron in one spot for too long and everything was fine.
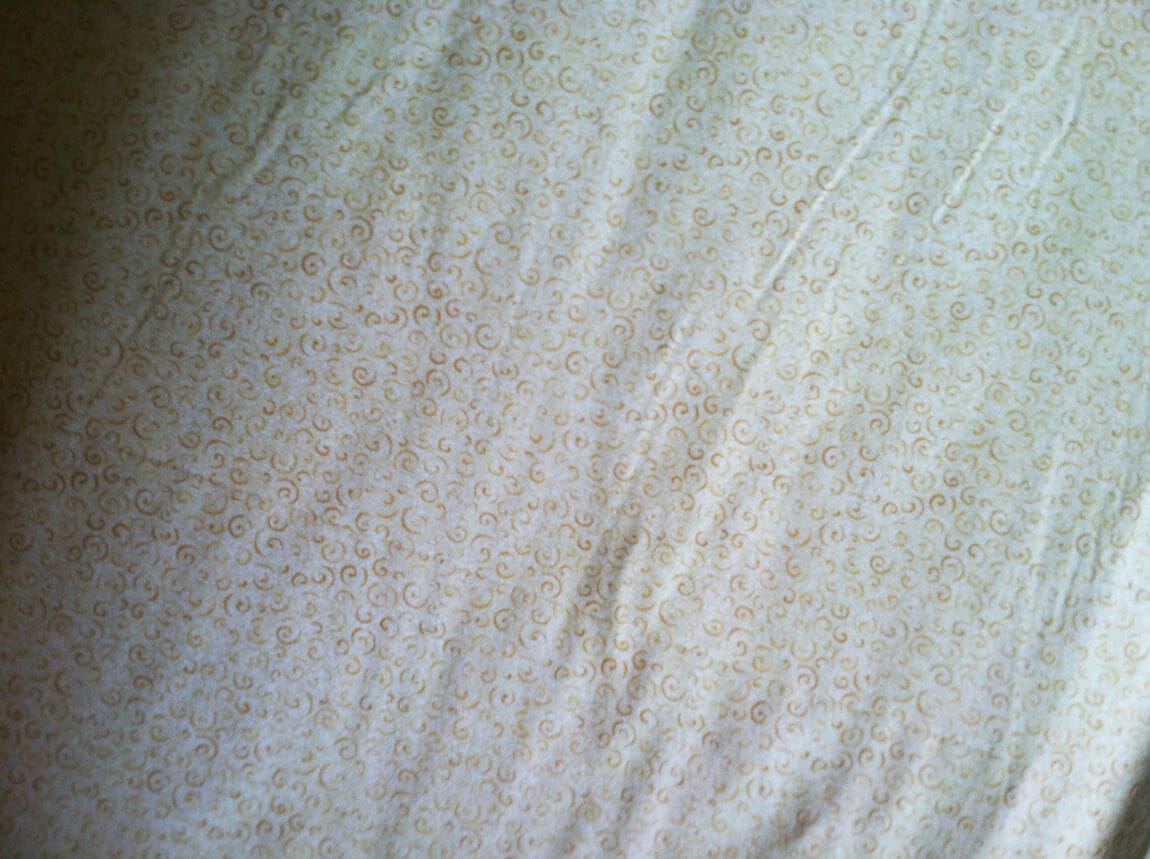
I never did get my backing fabric completely smooth, but this seemed good enough to me.
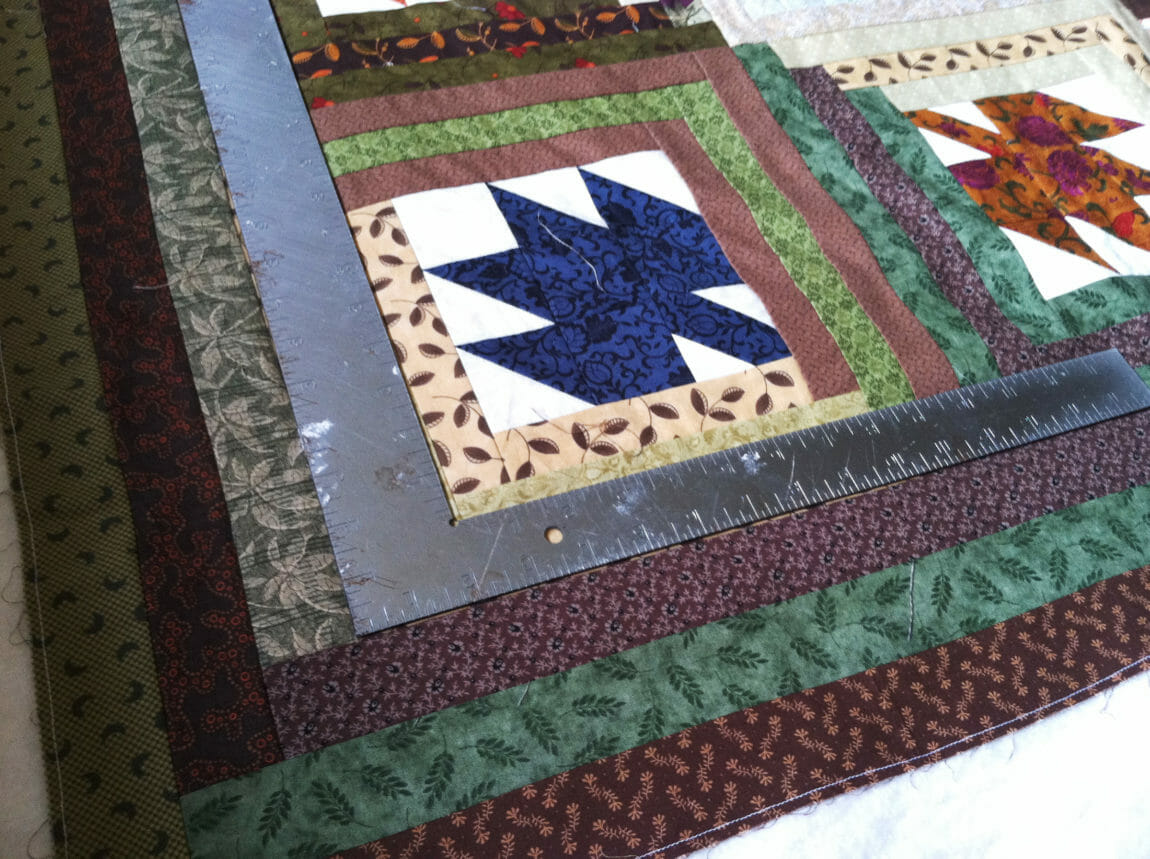
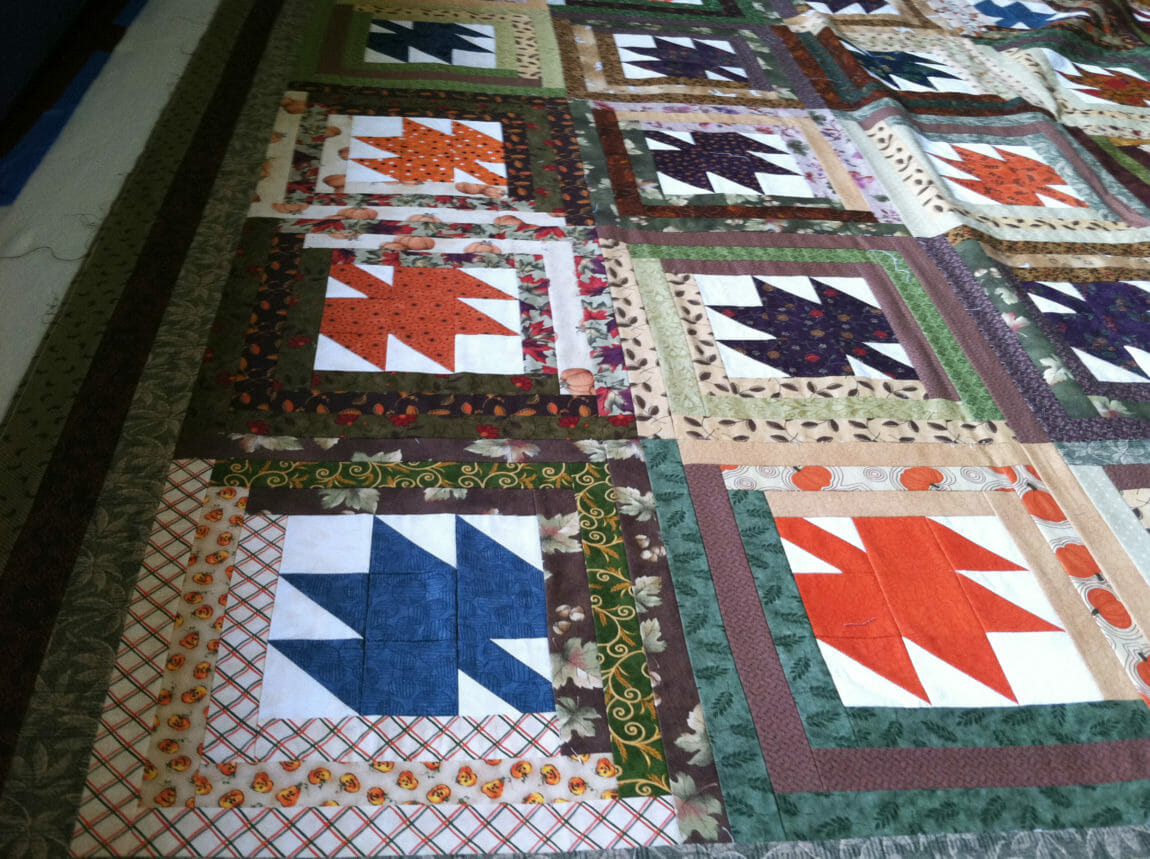
Now you have to flip the quilt back over and heat set the spray baste on the quilt top. Now because I was feeling particularly anal retentive when I did this, I pulled out a carpenter’s square and double checked that all my borders and every block was square before setting it in place with the iron.
When you’re done you can remove the tape from the backing fabric and begin quilting. I started with the borders, as recommended by Ann Petersen in the Craftsy class, then moved on to stitching in the ditch along the rows. Ann recommends started from the outside in, because your borders likely will never be as straight again as they are when you finish heat setting the top. That made sense to me, so I followed her instructions.
Good luck and I hope you’re not too sore the next day when you attempt this at home. I’ve only scratched the surface of what Ann Petersen covered in her Craftsy class. For more tips and tricks, click on the picture below and take it yourself.


The biggest quilt I have wrangled so far is queen size. However, I have a king size quilt almost done (just borders to go) so I read this with interest.
My current thinking is that I might try a different basting strategy, thanks for jump-starting that thought process.
I considered having it basted on the longarm, but the idea of pulling out all those threads when the quilting is finally finished didn’t appeal to me.
I too have done this with one exception……, by the time I was finished and I saw the wrinkles….. I was in tears, the thought of starting over was infuriating (never thinking to try ironing it). I tried lifting it and smoothing while I repositioned. I now ended up off my backing on one side.but like a trooper I tore it all apart and started over. Looking again still wrinkles, in tears I decided to quilt it. What’s a few wrinkles right? When I was finished I had 1 small unnoticeable wrinkle.Whew! I vowed never to spray baste anything tht big again! Pin basting works great for me! Lol
I’m finishing up a queen size too and want to spray baste it. I found you very helpful description of how to do it. I feel much more confident now. Thanks for your help.