Quilted: Ghost of Christmas Past
Making the decision on how to quilt your quilt is a very difficult decision. There are all over designs, custom quilting, free-motion, pantograph and computer-aided designs, thread choices, to ditch or not to ditch. The possibilities are endless and the results can dramatically impact the finished look of your quilt.
I’ve been honing my free-motion quilting skills on the longarm for four years and am at the point were I would consider myself at an intermediate skill level. I won’t consider myself advanced until I can master feathers. I’m working on it. So with that background, I’ve decided to start a new occasional series called “Quilted” where I will detail the quilting decisions I made, why and the results on the finished quilt. My hope is that seeing what goes into choosing a design, thread color and other longarm quilting options, that you will be able to look at your quilts in a new way when determining how to finish them.
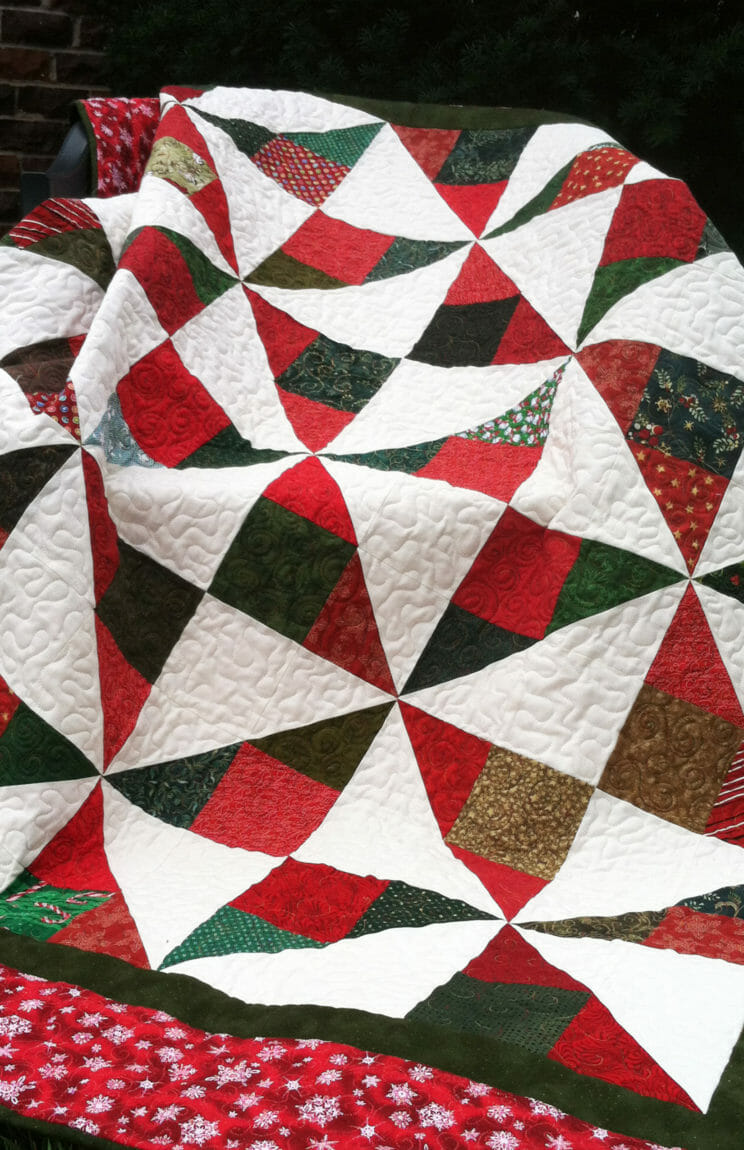
First up is Ghost of Christmas Past. This is the latest quilt I finished and the pattern is available for download. I finished the top at 3 a.m. the night before I was scheduled to rent time on a longarm. So as I went to bed that night, I was thinking I definitely would go with a simple allover free motion design in a white thread. But that was because I was tired and being lazy.
When I got to the quilt shop, I’d had some coffee and my mood had changed. Instead I wanted to do one quilting design in the red and green pinwheels, a different design in the white pinwheel and a third design in the large border.
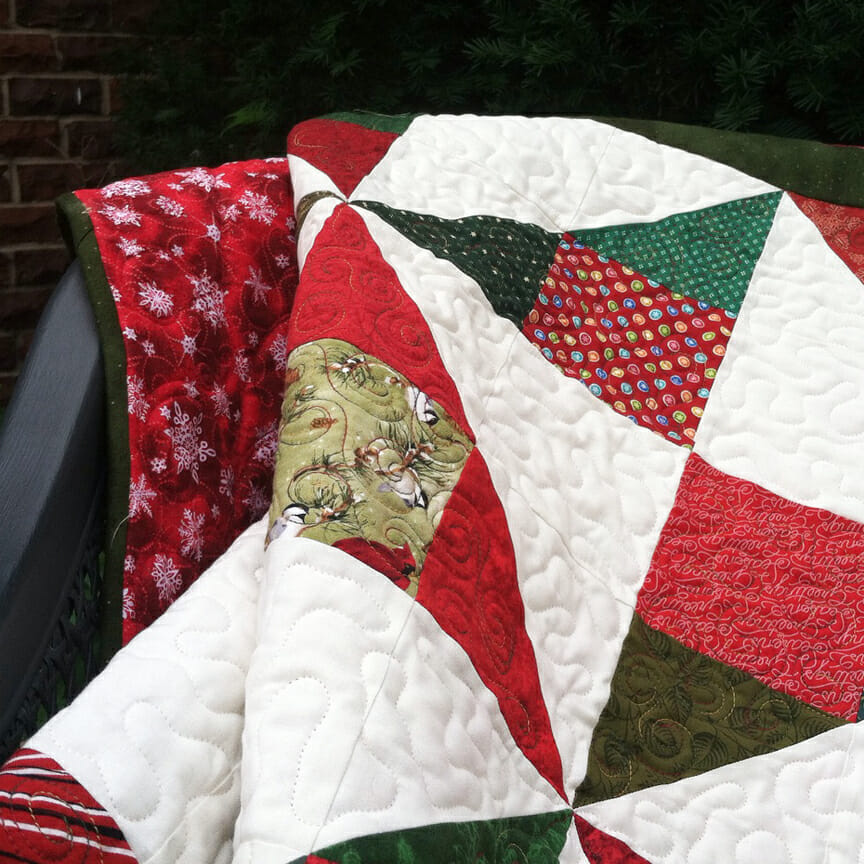
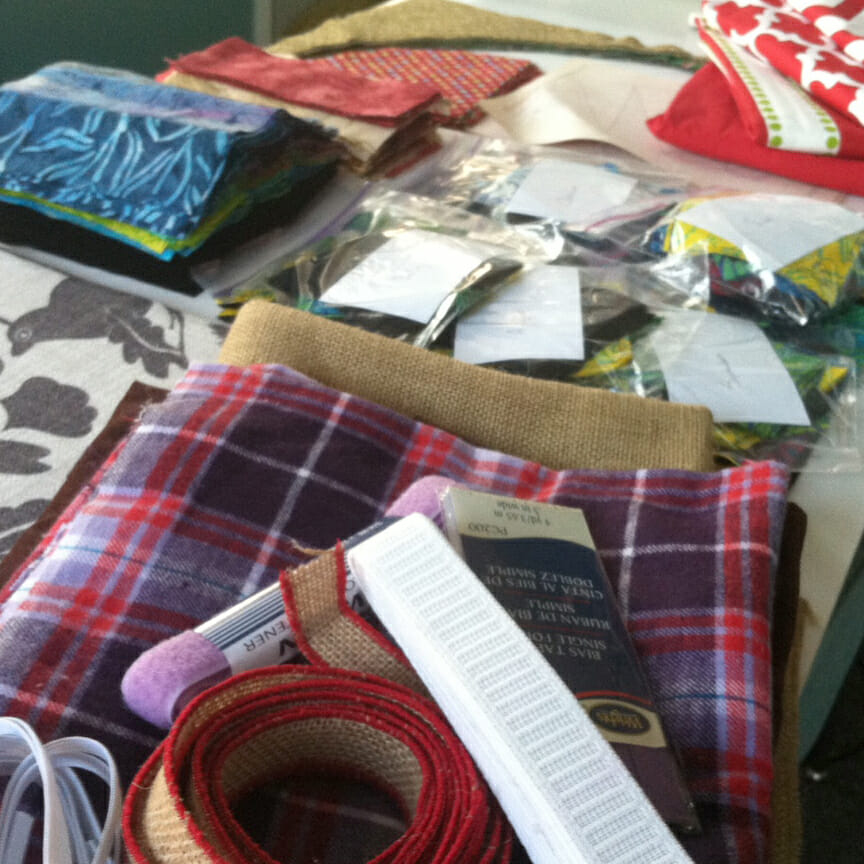
First up was the red and green pinwheels. This pattern was designed to be used as part of a fabric exchange, or as a way to use up all the Christmas scraps from holiday projects over the years. I raided my own scrap bin to make the sample. While the scrappy nature of the quilt makes it a lot of fun to work on, it also poses a problem when choosing thread color. You need to find a thread that will work not just across red and green, but across all different shades of red and green, some of which really clash.
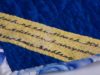
Variegated is your friend in these situations. The thread color changes every few inches so you don’t have to match the fabric exactly for it to look nice. You an get variegated thread that is variations of the same color, goes back and forth between two complementary colors or even three colors, which is what I chose here. The thread has red, green and gold hues in it. At first I wasn’t so sure about the gold, but it really helps the golds in the Christmas fabrics pop.
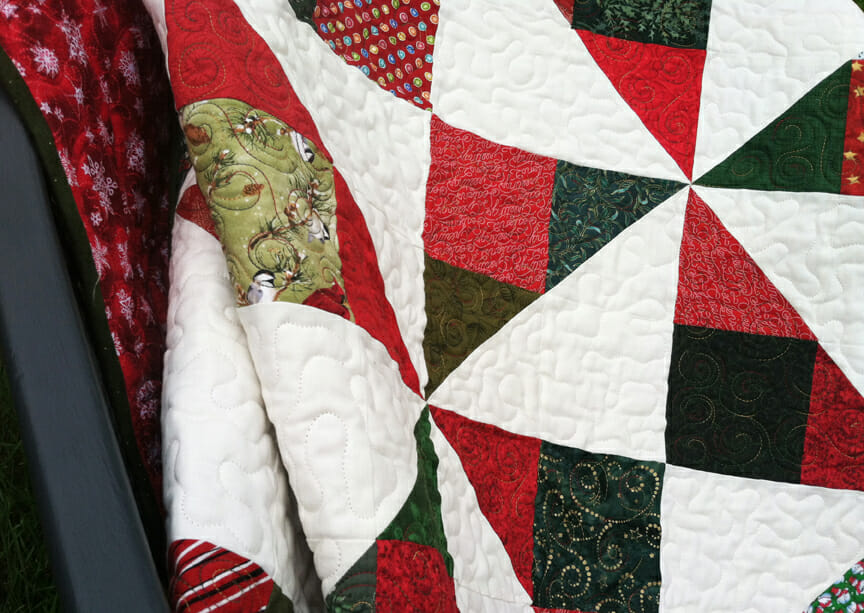
For the design I chose a free-motion swirl in a smaller scale. This is one of my go-to free motion designs. I find it to be easy, quick and it can be easily scaled. I generally like my quilting to be pretty dense, which is why I was on the smaller side for this quilt. To minimize starts and stops, I started in the far left corner of a triangle, and finished in the far right, then traveled through the point to the next triangle in the row. That way I only had to hide threads on the edges of the rows.
For the white triangles I used a simple meander, in a similar scale to the swirls, quilted in white thread. I chose a simple design with a thread that blended because I just wanted the white triangles to blend into the background, keeping the focus on the crazy collection of fabrics in this quilt. The meander is another great design that is easy to master and can be scaled to the teeniest of pieces to a very large allover design for a quilt you just need to finish.
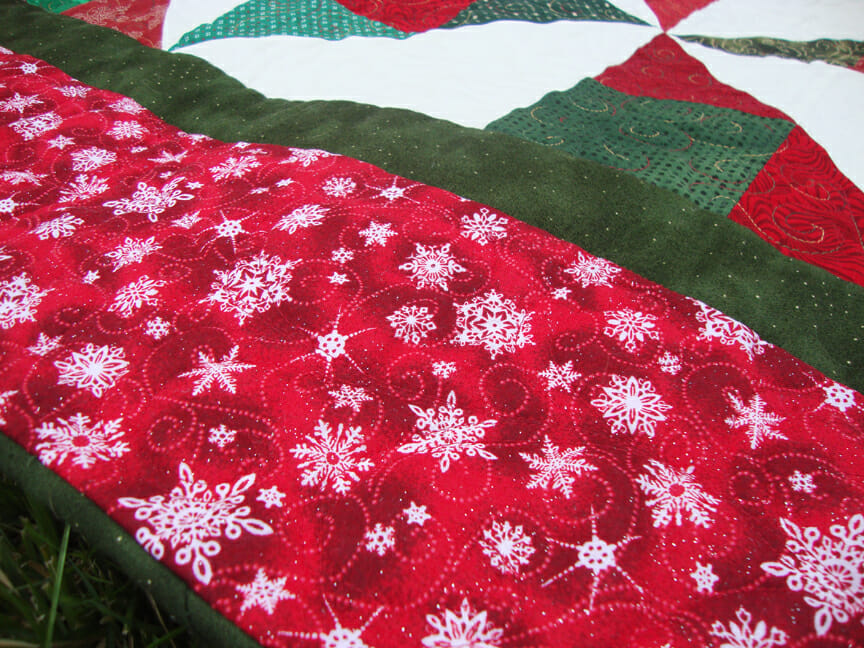
I’m writing a little out of order here, because the first thing I did was stitch in the ditch for the inner border using the same variegated thread I used in the red and green triangles. Stitching in the ditch first helps stabilize your quilt top and ensures your borders will remain straight when the quilt is done. That is especially important if you plan to hang your quilt, or put it on a bed and wonky borders would be noticeable. You generally want to stitch in the ditch, or stitch a straight line on the side of the border the seam allowance isn’t pressed under, before you start doing any free motion quilting that could warp the quilt or individual block you’re working on. To read more about ditching, click here.
The outer border is also ditched, but I used the same red thread I used for the border to help it blend better. The quilting design is really hard to see here because the fabric is so busy, but I chose a swirly feather-like border design. The swirl mimics the swirling snow on the fabric, and it is strung together using a feather-like spine that the swirl always goes back to. The swirl itself also kind of mimics the rounded shape of the feather, but the edges do not connect the way a true feather border would.
Besides mimicking the look of the fabric in the quilting, I chose the design because I have been practicing feathers for a year. I don’t have it down yet, but by constantly trying designs that require the same type of repetitive motion and that are similar in its construction, I keep getting closer and closer to being able to tackle the monster of all free-motion quilting stitches.
While the custom quilting and three thread changes was a lot more work than going with a simple allover design, I’m glad I took the extra time. It really adds something extra to this quilt, elevating the simple design to something special.
You might be interested in


Good Morning,
I am planning on mailing my fabric for the exchange today but need the address please.
I did not receive a pattern with my package and I thought that was part of the $40 ?
Teresa Holland The pattern is a digital download. You should have received an receipt immediately after your purchase with a link to the PDF download. If you can’t find it, just click here https://www.quiltaddictsanonymous.com/my-account/ and sign into your account. The link to download your PDF will be there.