3 Ways to Sew a Perfect Quarter-Inch Seam Every Time – FREE Beginner Quilting Videos and Pattern
Step two in making quilts that turn out like they are supposed to is sewing an accurate quarter-inch seam. This isn’t hard, once you have the right tools, or know how to set your sewing machine up properly to do it.
For the first year-and-a-half I was a quilter I sewed an absolutely perfect 3/8-inch seam. I was following a quilting book that told me to line the fabric edges up with the right edge of my presser foot and I would sew a perfect quarter-inch seam.
Well, I couldn’t figure out what in the heck I as doing wrong, because my pieces were lined up EXACTLY with the edge of my presser foot. You wouln’t think an eighth of an inch would make a big deal. But it does. Nothing fit together right. I cut off the point of every triangle I ever sewed. It was frustrating.
Then I took my first quilting class. The instructor took one look at my presser foot and informed me I was not using a quarter-inch foot. She showed me how to put tape on my machine at the actual quarter-inch mark and my world changed.
Overnight I went from a crappy quilter, to a pretty decent one. I made an entire quilt top in between the first and second session of that class and all my points were exactly where they were supposed to be because I was finally sewing a quarter-inch seam.
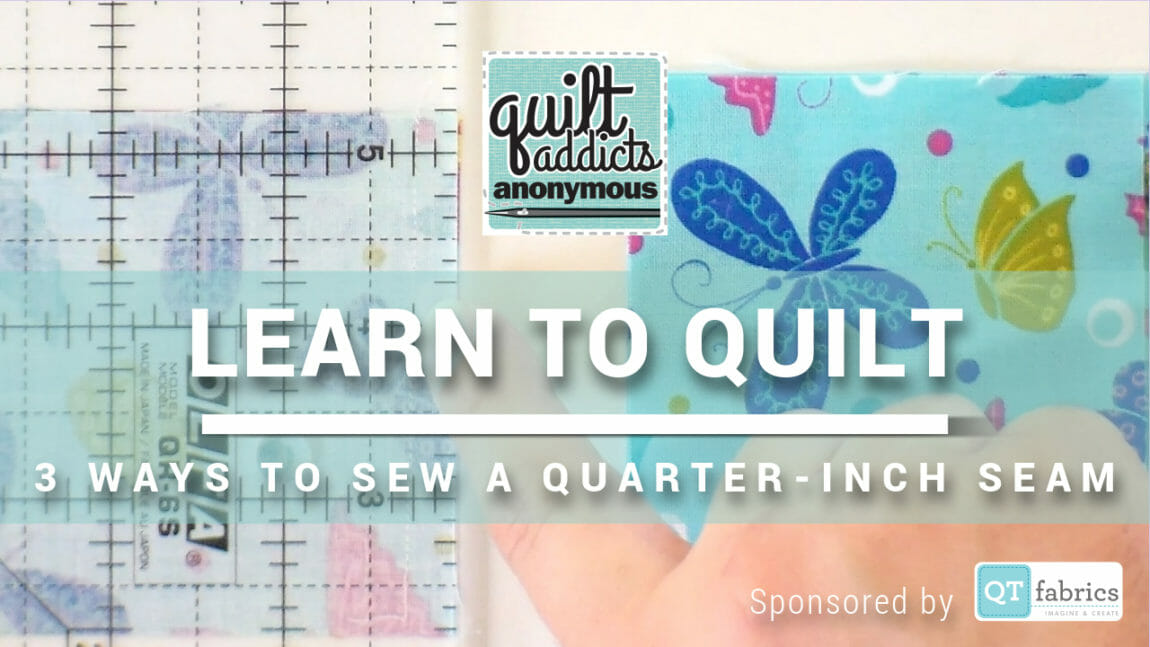
In this video I show you three different ways to set your sewing machine up to sew an accurate quarter-inch seam. We cover using the piecing stitch setting if your machine has it, using a quarter-inch foot and the tried and true method of putting some tape down on your sewing machine.
I also show you how to measure your seam with your ruler afterward so you can check to make sure you’re doing it right.
Just like with cutting fabric, there usually are a few correct ways to do any one thing in quilting. So try all three methods and see which way is best for you. I started out using the tape method to mark my quarter-inch guide, then bought a quarter-inch foot and when I upgraded machines, got one with a quarter-inch stitch built-in. So do whatever works best for you, just make sure whatever method you choose leaves you with perfect quarter-inch seams every time.
And since we know it can be expensive to start quilting, we have a special coupon just for our Beginner Quilting students. With this one-time use coupon, you can save 20 percent on everything in the Beginner Quilting category on our website.
That includes all of your notions and in-stock fabric from QT Fabrics, our class sponsor! We also have creates a few quilt kits for the Split Nine Patch pattern and have made digital versions of the quilts so you’ll know you love it before you start sewing.
The coupon will be sent to you via email after you download your FREE pattern to go along with this course. Click here to download your free copy.
Other videos in the series:
- Beginner Class Introduction
- Must Have Quilting Supplies and Tools
- How to Read a Quilt Pattern
- What’s the Difference??? Quilt Shop vs. Chain Store Fabric
- How to Use a Rotary Cutter
- How to Sew a Split Nine Patch Quilt Block
- Speed Up Your Sewing by Chain Piecing Your Quilt Blocks
- How to Assemble a Quilt Top
- How to Layer and Baste a Quilt aka Make the Quilt Sandwich
