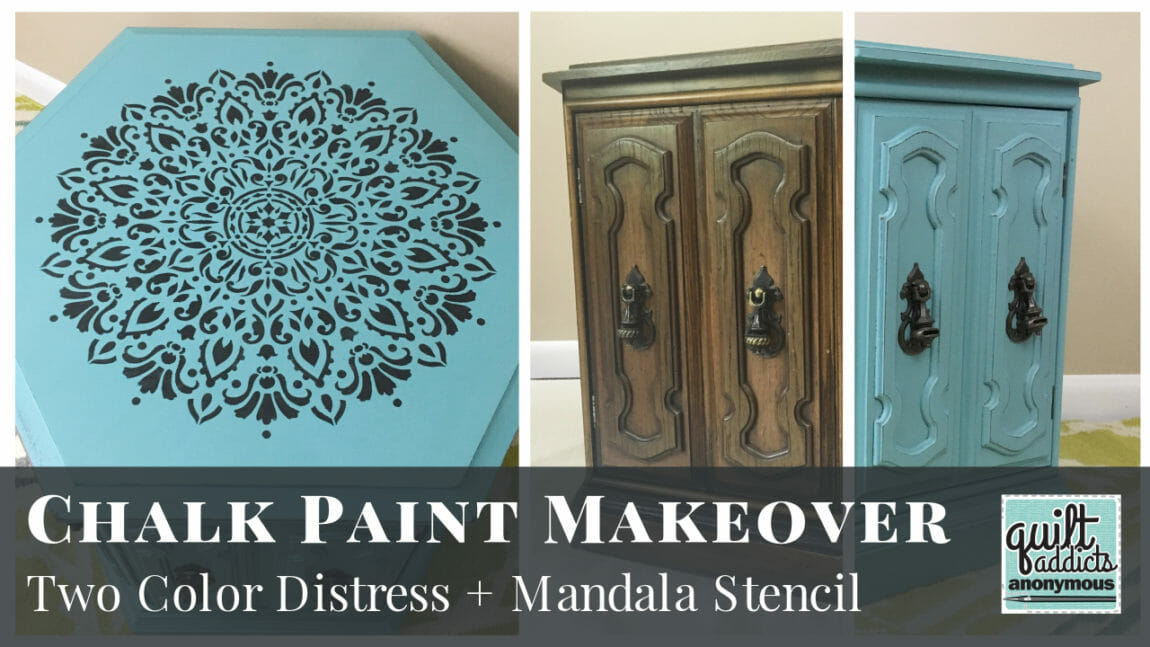
How to Stencil Furniture plus Two Color Distressing using Annie Sloan Chalk Paint
Next to sewing, my favorite thing to create is a good upcycled furniture project. So when Stencil Revolution emailed me and said they wanted me to send me a stencil to play with, of course I said yes.
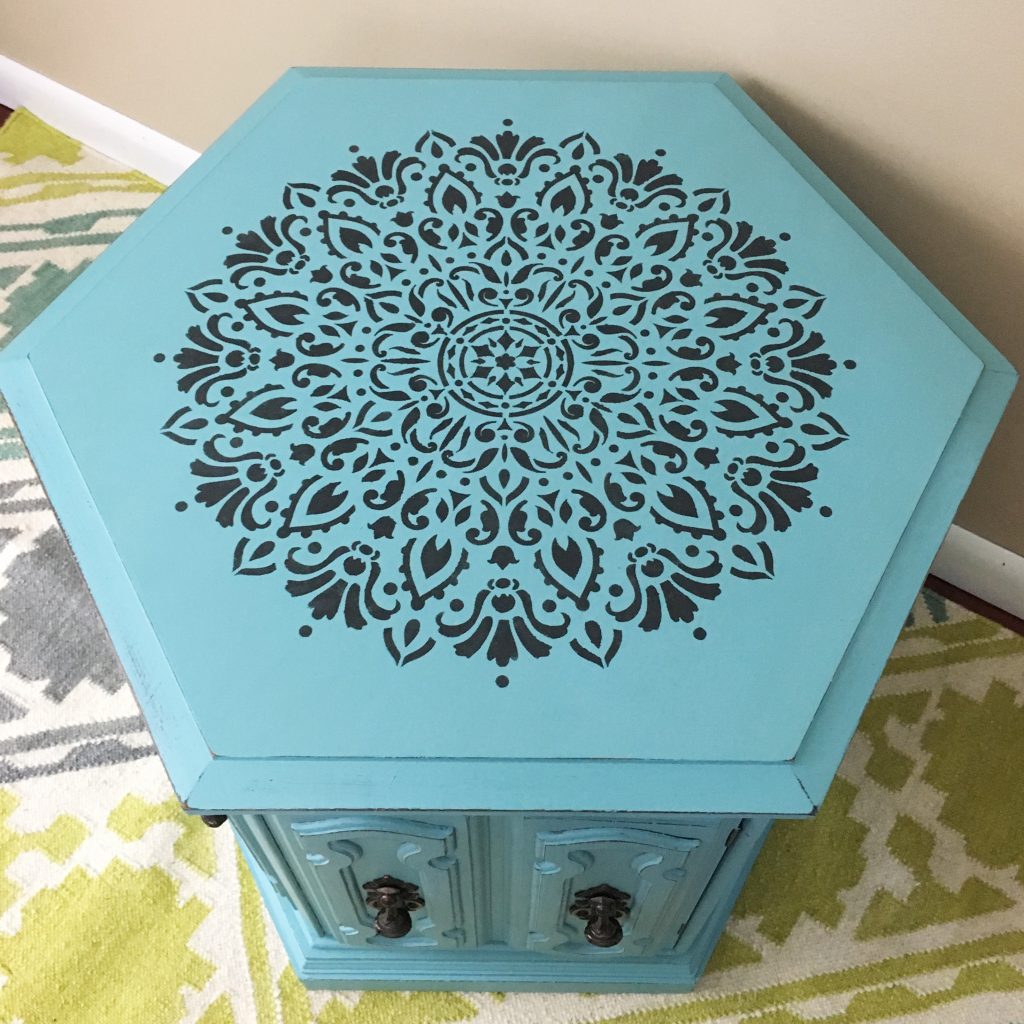
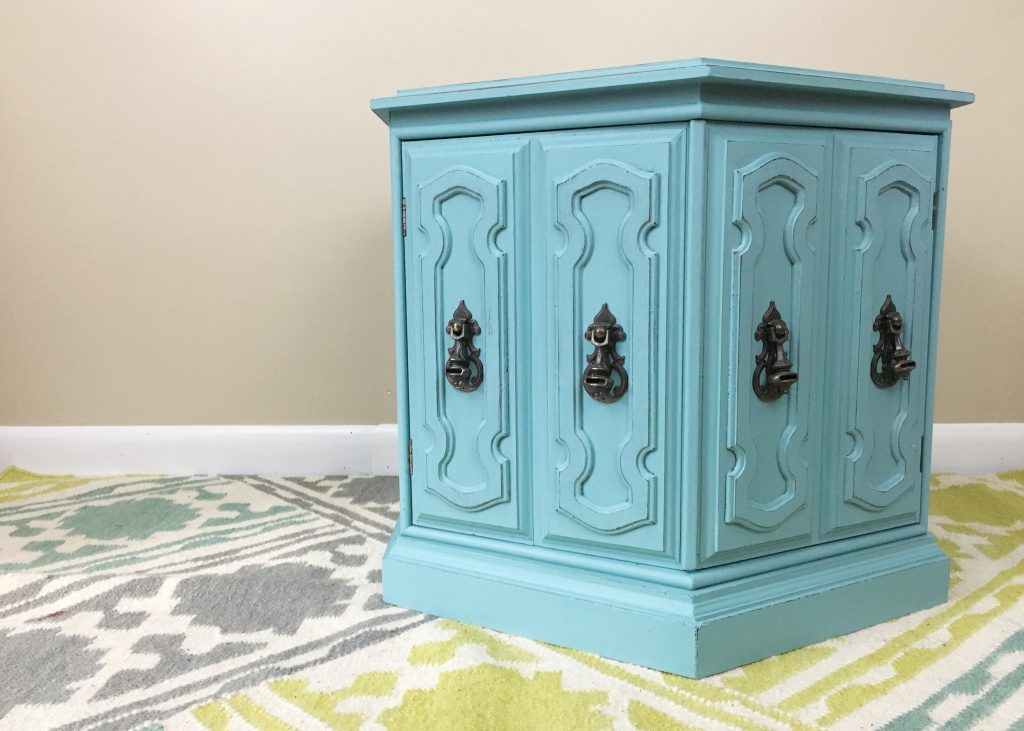
Their most popular stencils are the Mandalas and I can see why. The intricate designs make for a stunning effect so I hit up no less than five thrift shops to find a hexagon shaped end table that was once stylish, but now is a clunky dated hunk of junk. Why is it that you always see these until you have a perfect project to use them with?
That is why like fabric, I tend to buy a good piece of furniture when I see it, even if I have no immediate plan for it. Just don’t look at my basement. I could open my own thrift shop.
The really awesome thing about Stencil Revolution is the stencils are available in multiple sizes. So I was able to measure the top of my end table and order the Harmony Mandala Stencil to fit the top perfectly. When I have ordered from other stencil creators there are at most three sizes to choose from, but here you can get exactly what you need for the piece you want to transform.
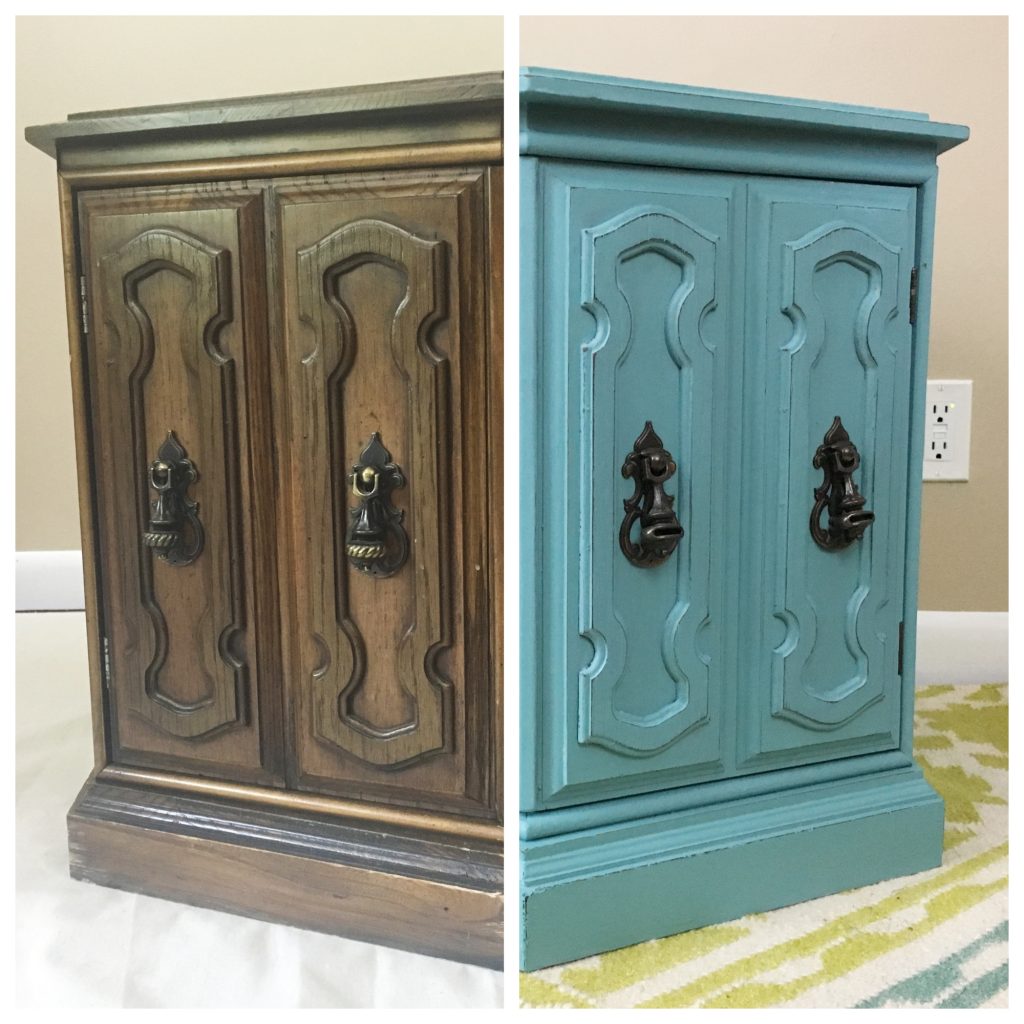
This piece is going to live at quilt shop, so I chose Annie Sloan Provence for the top coat because it goes great with our teal color scheme. For the base coat and stencil I used Annie Sloan Graphite and for the stencil. I sealed everything with Annie Sloan Clear Wax.
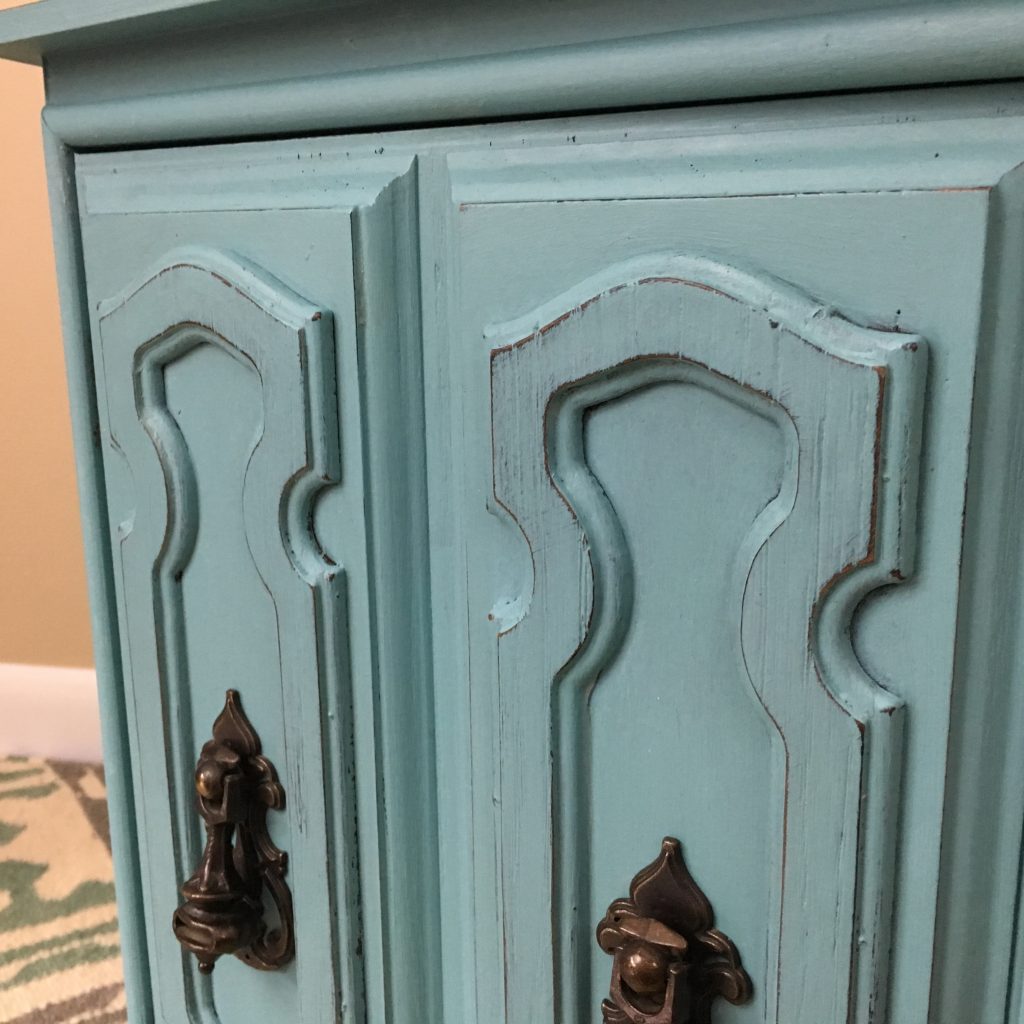
In the video, I take you through my transformation process starting with how to use chalk paint to apply the base coat and then a second contrasting color, how to paint using a stencil without bleeding and sand to create a two color distressed look.
When I posted a photo of my original thrift store find I heard from a ton of people who had similar end tables in their or their parents/grandparents houses. So I hope this inspires you to upcycled something fun. I have upcycled a ton of sewing cabinets. If you do, tag me on Instagram and use the hashtag #quiltaddictsanonymous so I can see what you created.
Today’s video is sponsored by Stencil Revolution, a family-owned company based in Florida. All of the stencils are laser cut right in the U.S. and orders ship within one business day. They have home decor stencils, furniture stencils as well as some funky fun ones to create some fun wall art with. Check it out at StencilRevolution.com.
Supplies I used in this video (may contain affiliate links):
- Harmony Mandala Stencil from Stencil Revolution: https://bit.ly/2u2e5CX
- Annie Sloan Chalk Paint in Graphite: https://amzn.to/2MU7Wjl
- Annie Sloan Chalk Paint in Provenance: https://amzn.to/2MTlk7p
- Annie Sloan Clear Wax: https://amzn.to/2NqedUO
- Chalk Paint brush: https://amzn.to/2J1deaa
- Wax brush: https://amzn.to/2J1deaa
- Annie Sloan Sanding Sponges: https://amzn.to/2IXcoLQ

Hi Stephanie, I loved this video! I was wondering why did you wax before you distressed? Also the wax, does it go pretty far? I want to do a large dresser. Thanks for the inspiration! I see lots of fun painting projects in my future! With of course some stencils too! Thanks for showing us how to do this.