Walking Foot Quilting! Straight and Wavy Lines – FREE Beginner Quilting Videos and Pattern
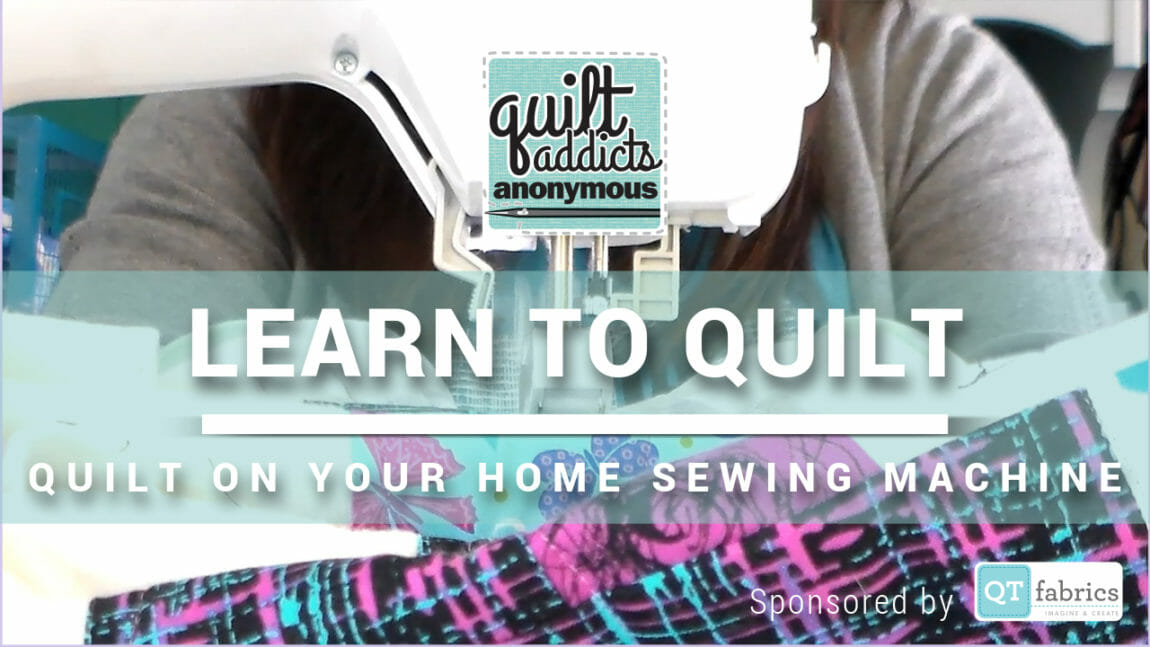
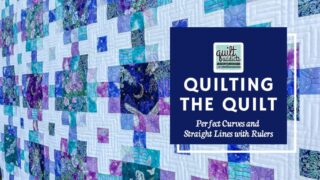
You are going to feel really accomplished once you get through this video tutorial. In today’s lesson I show you how to quilt your quilt on your home sewing machine using a walking foot.
Now I have a fancy sewing machine with and extra large throat and extension table, but this is a beginner course, and I wanted you to know you don’t need a fancy machine to do this. So I quilted the entire quilt on my backup machine, which is a Babylock Rachel.
It is the size and price range that is ideal for beginner quilters looking to get their first machine. And that is just my honest opinion as a Babylock user. We don’t sell sewing machines at Quilt Addicts Anonymous, and I am not sponsored by Babylock in any way and have never gotten free stuff from them.
If you want to know more about what to look for when choosing a beginner sewing machine that will work for you, click here to check out my video on the Best Sewing Machine Brands, Costs and Features for Quilters.
OK, back to quilting. You are going to want to pull out your walking foot and put it on your sewing machine for this step. I show you how in the video. I talked about this in the first video about the stuff you need. If your machine didn’t come with one, we have universal ones for low shank machines at Quilt Addicts Anonymous. Click here to order one.
I also don’t quilt or bind without my Machingers Quilting Gloves. They help me grip the quilt and move it around with less wrist strain. You can order those by clicking here.
A walking foot is absolutely critical when quilting your quilt or applying binding. It has a second set of feed dogs on the top that helps move all three layers of your quilt together at the same rate so you don’t have any puckers in your final quilt.
In the video I go over how to quilt straight and curvy lines using your walking foot. We talk about how densely you need to quilt. Then I demo as I quilt curvy lines on my quilt. Whether you do straight or curvy lines is up to you, but I would suggest giving curvy lines a go.
I have seen far too many beginner quilters get hung up on their straight lines not being straight and ripping out more stitches than they put in. That is just frustrating. Start with curvy and then when your lines aren’t straight, there are no worries, because that is how it is supposed to be.
And also don’t worry if your quilting isn’t perfect. Nobody’s quilting is every perfect, that is what makes handmade awesome. The goal is for your last stitches to be better than your first. As long as you are improving, that is all that matters.
One last tip … don’t try to quilt this all in one sitting. Your body will be very angry if you do. Just quilt for an hour at a time then take a break and come back to it later. You’ll be less stressed, you will do better work and you won’t get so sore.
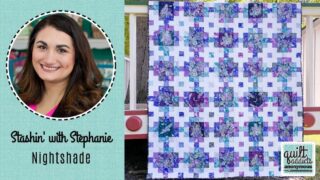
If you are enjoying these videos, but haven’t downloaded the pattern yet, make sure you do it! We’ll send it to you for FREE, plus a 20% off coupon that you can use on everything we use in the beginner quilting series.
That includes all of your notions and in-stock fabric from QT Fabrics, our class sponsor! We also have created a few quilt kits for the Split Nine Patch pattern and have made digital versions of the quilts so you’ll know you love it before you start sewing.
The coupon will be sent to you via email after you download your FREE pattern to go along with this course. Click here to download your free copy.
Other videos in the series:
- Beginner Class Introduction
- Must Have Quilting Supplies and Tools
- How to Read a Quilt Pattern
- What’s the Difference??? Quilt Shop vs. Chain Store Fabric
- How to Use a Rotary Cutter
- 3 Ways to Sew a Perfect Quarter-Inch Seam Every Time
- How to Sew a Split Nine Patch Quilt Block
- How to Chain Piece Quilt Blocks
- How to Assemble the Quilt Top
- How to Layer and Baste a Quilt


YOUR COMMENT …
YOUR COMMENT …
Thanks once again. Loving these videos.
Fun watching, I’m a newbie. Thank you for sharing.